Hevac reinstallation and dashboard reassembly
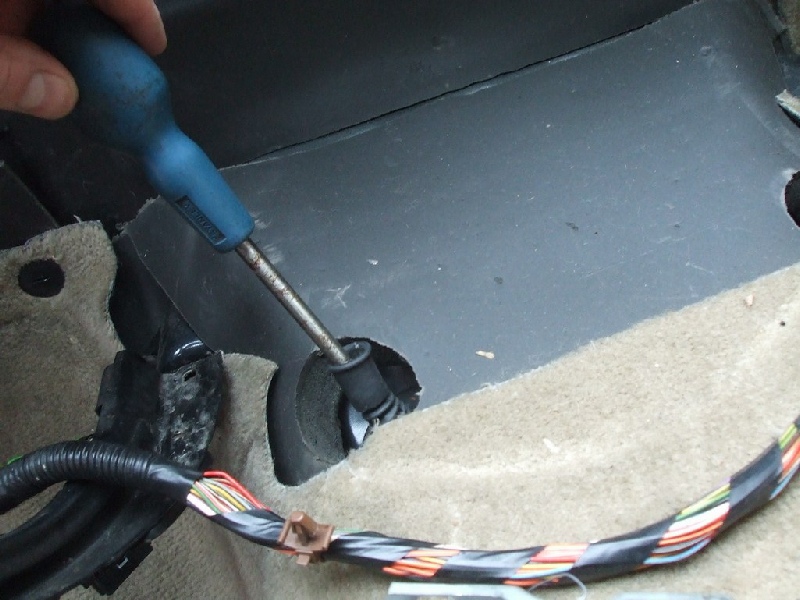
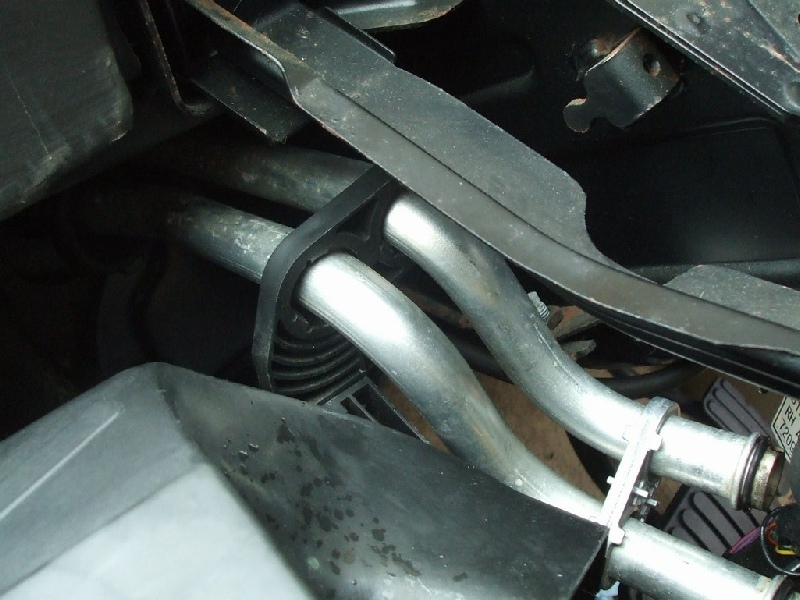
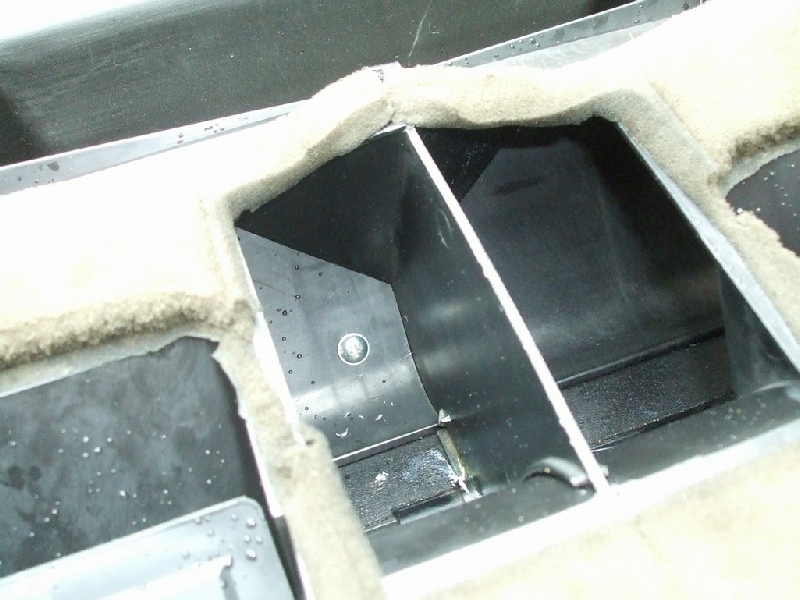
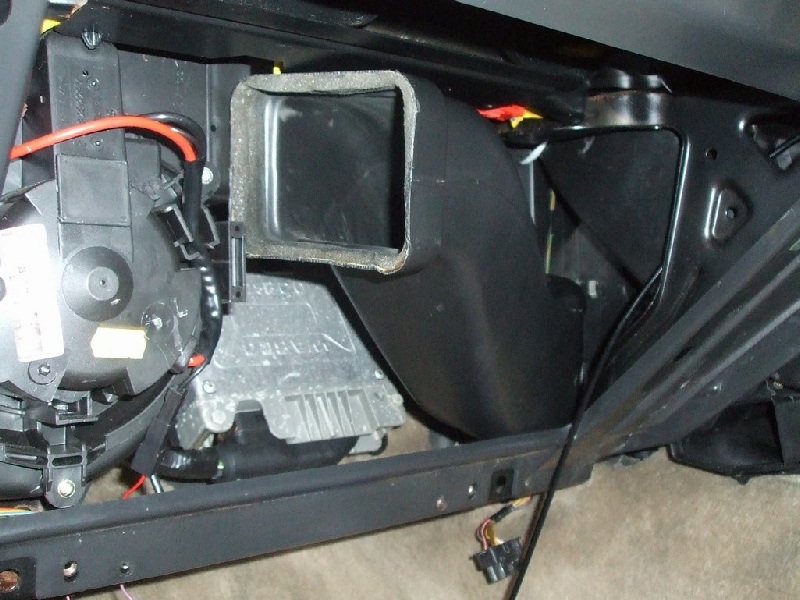
Here’s the sequence for reassembly. First clear out the two A/C drains with a screwdriver. Now lift the A/C pack back in, making sure to attach the plastic support for the coolant pipes.
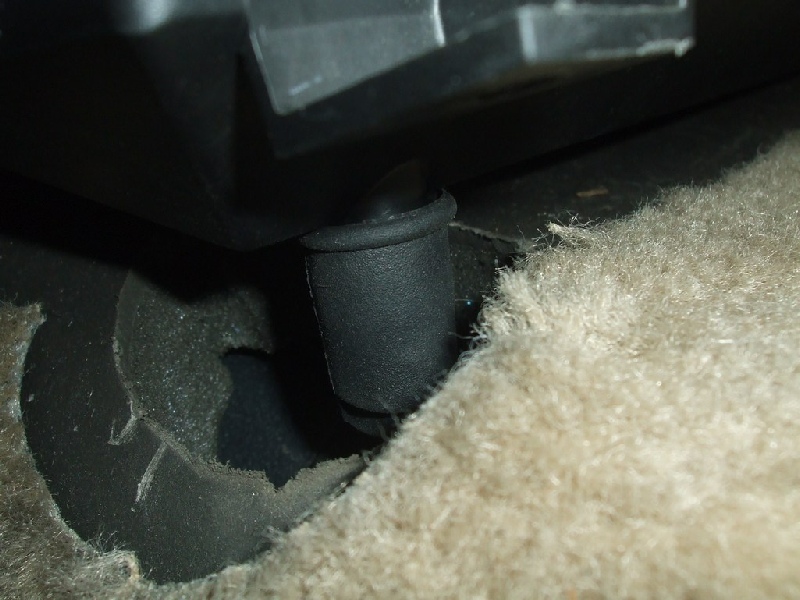
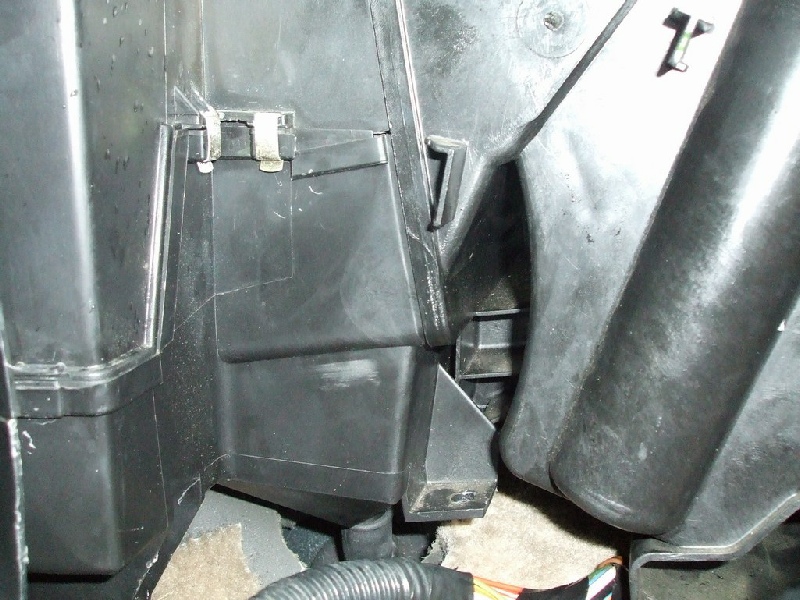
Now lift the front part of the blower assembly in, making sure that the unit drops
into an aligns correctly. There is a screw that goes in the top -
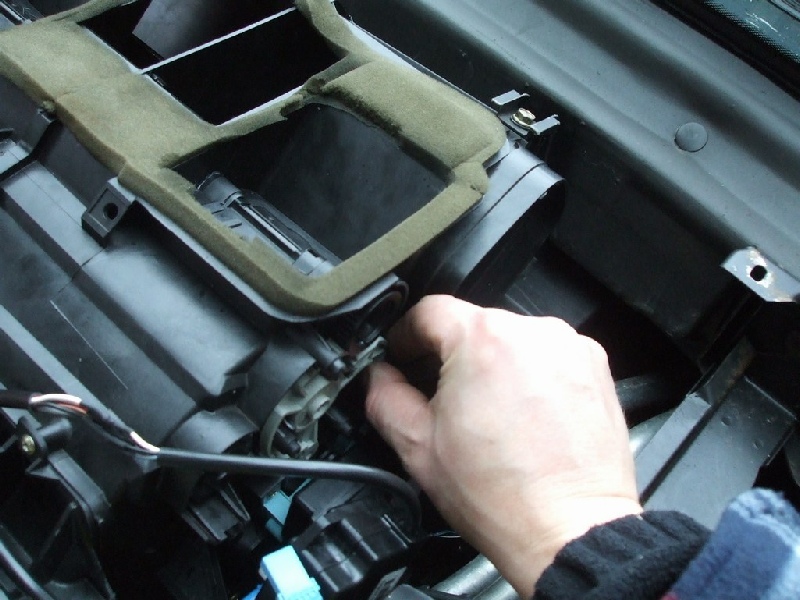

With the unit loosely back in, attach all the blend motors (don’t power it up with
the blend motors removed -
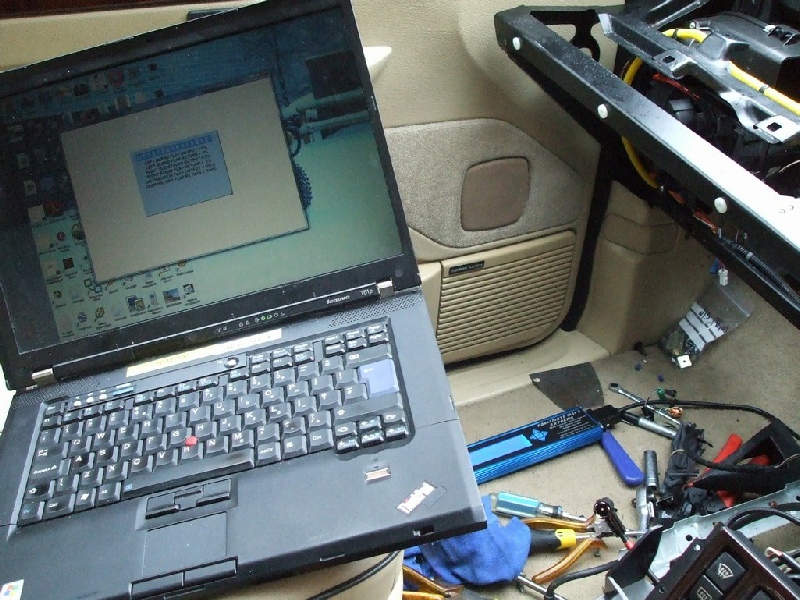
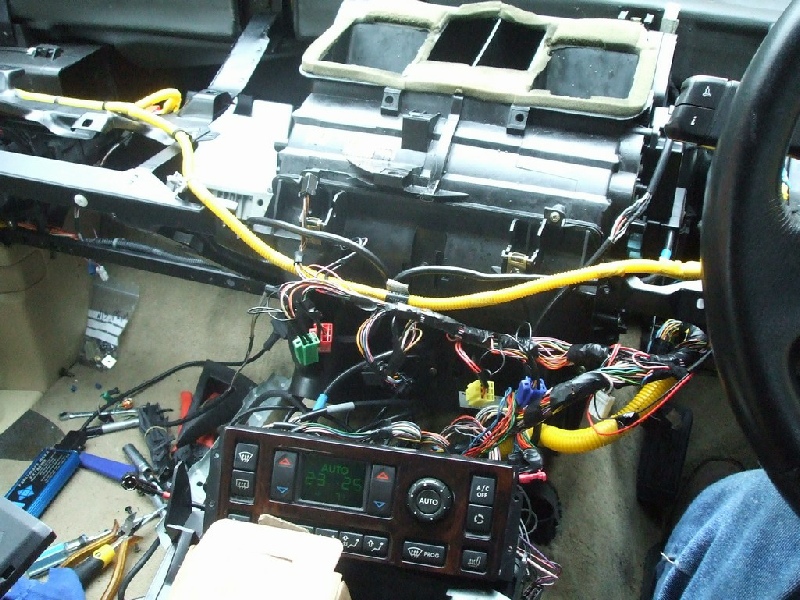
I have the diags and executed a calibration followed by commanding it to seek to specific positions. But you can test by simply pressing each button at the bottom from left to right and you will see it open up a bit more each time. If the book symbol comes on, its probably jamming or another problem.
Once you are happy that its working, carry on reassembling the unit.
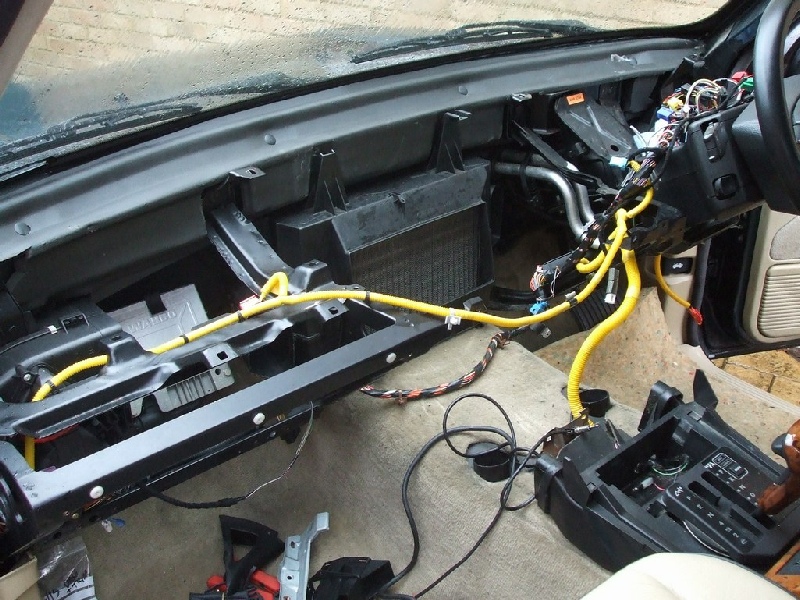
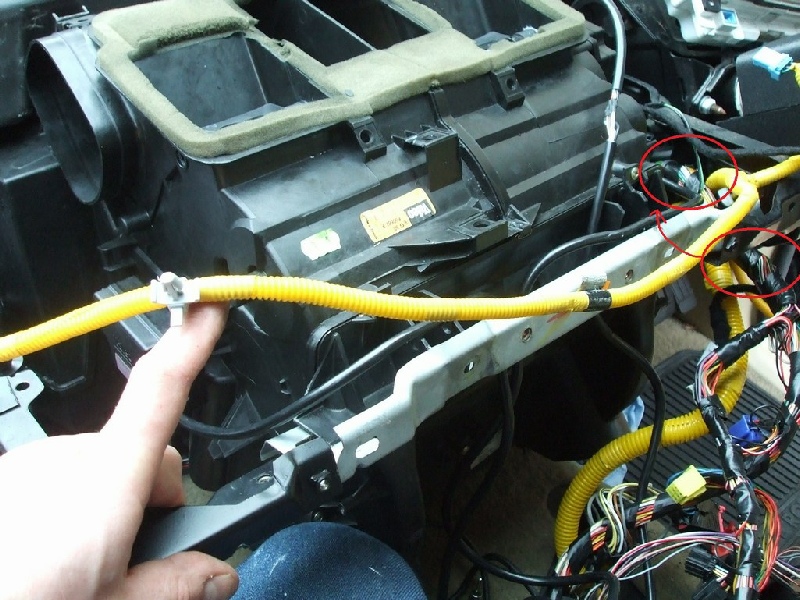
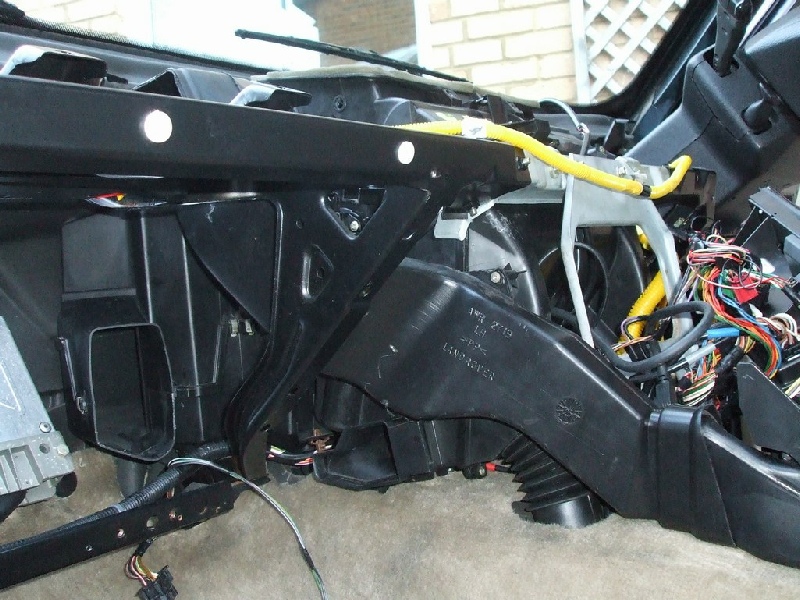
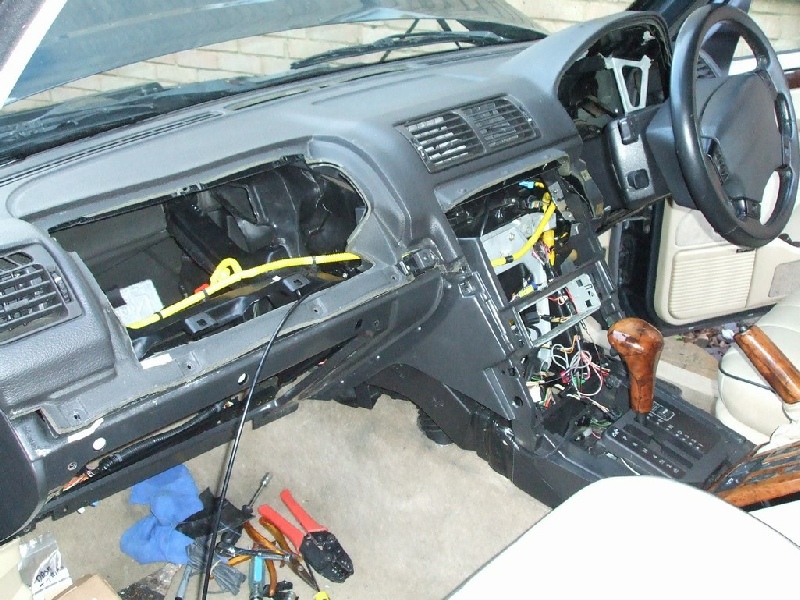
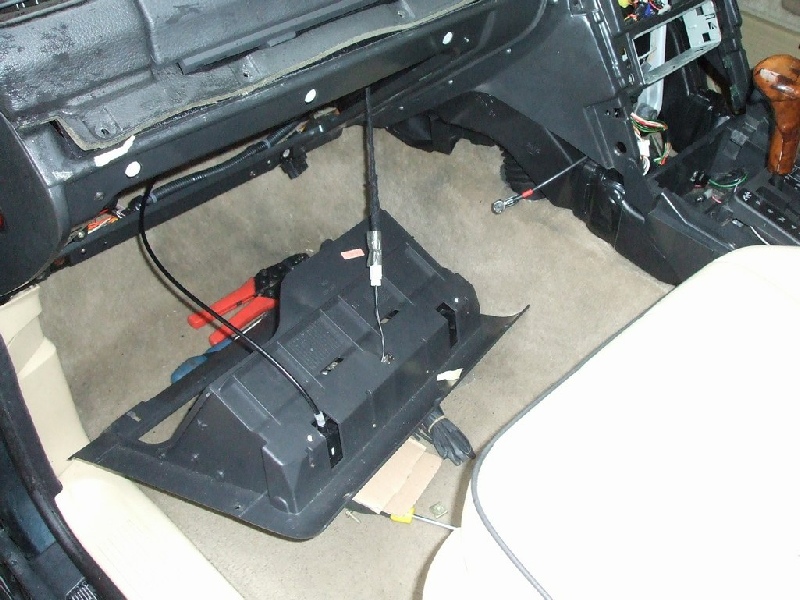
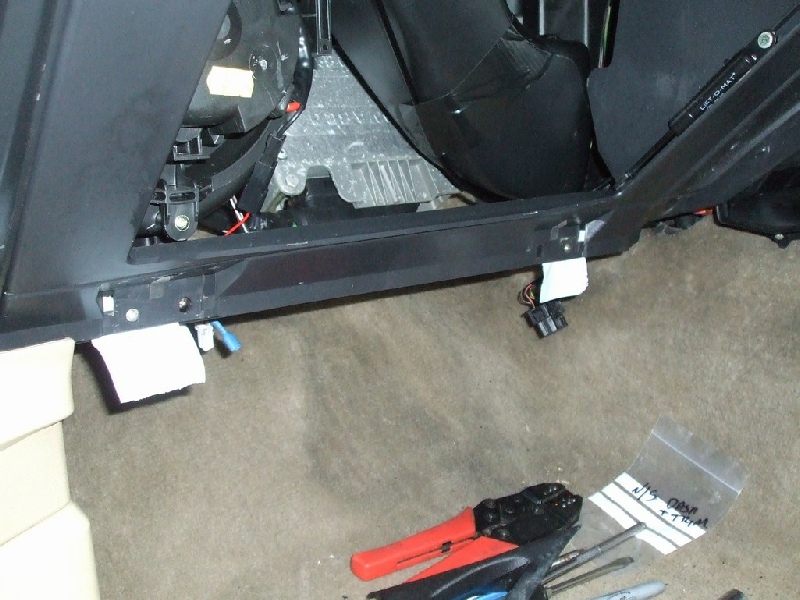
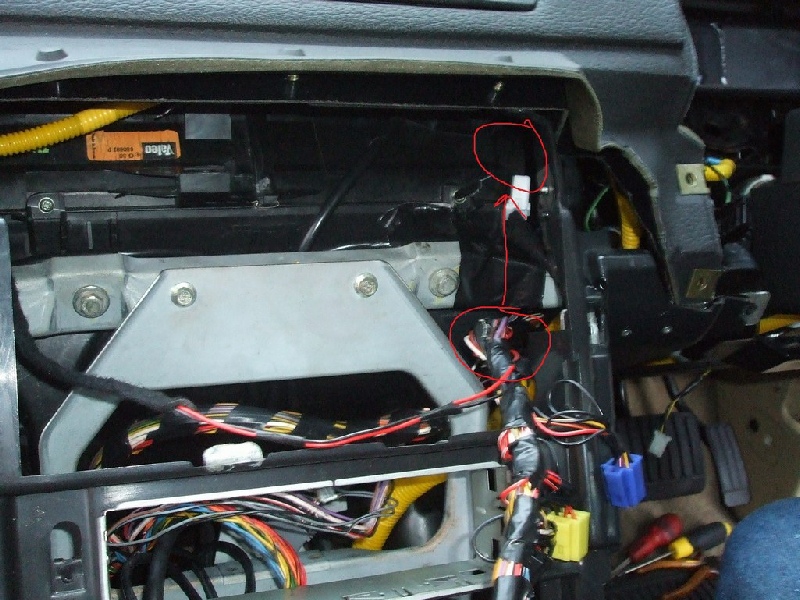
You need to get the front support bar back between the dashboard. Because you have loosened the supports for the dash there is a fair amount of wiggle room. You can see my knee hard up against the hvac and forcing the bar back in between the black dash supports.
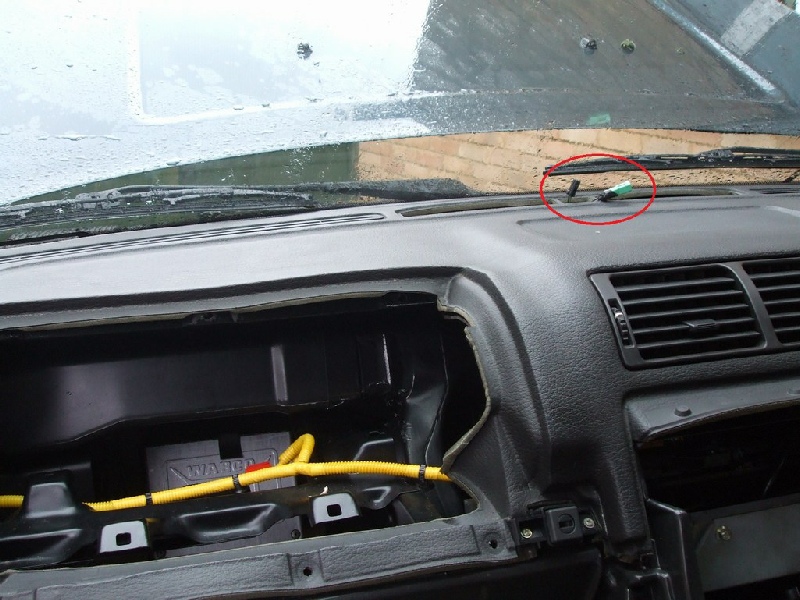
The red circles show where the loom SHOULD be located (I.e. Above, not below) -
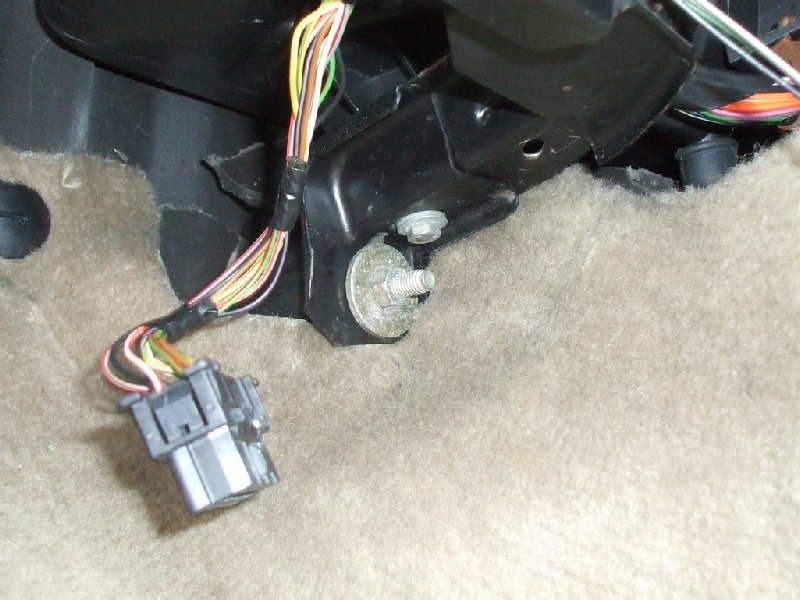
Now tighten the bolts in the footwell holding the dash. Reinsert the a/c probe carefully into the evap.
With everything tight, I removed the blend motor and ensured that everything was still smooth (paranoia)
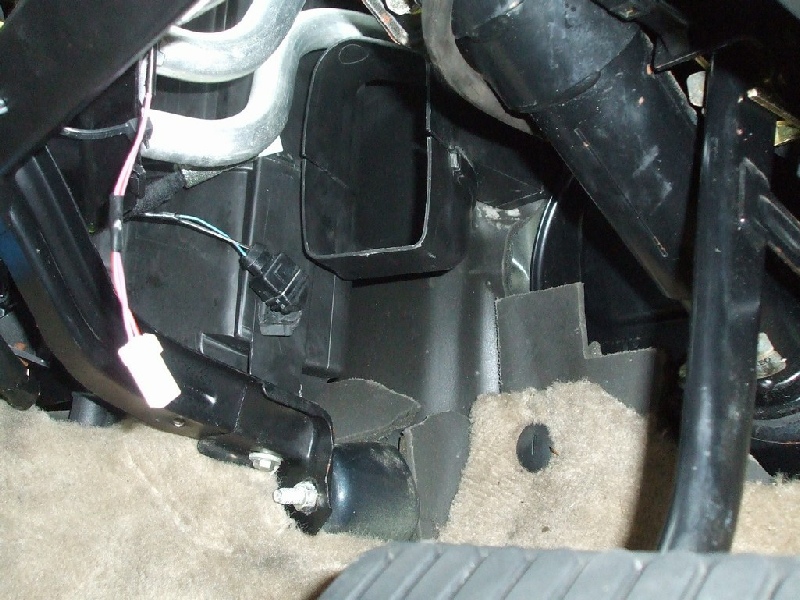
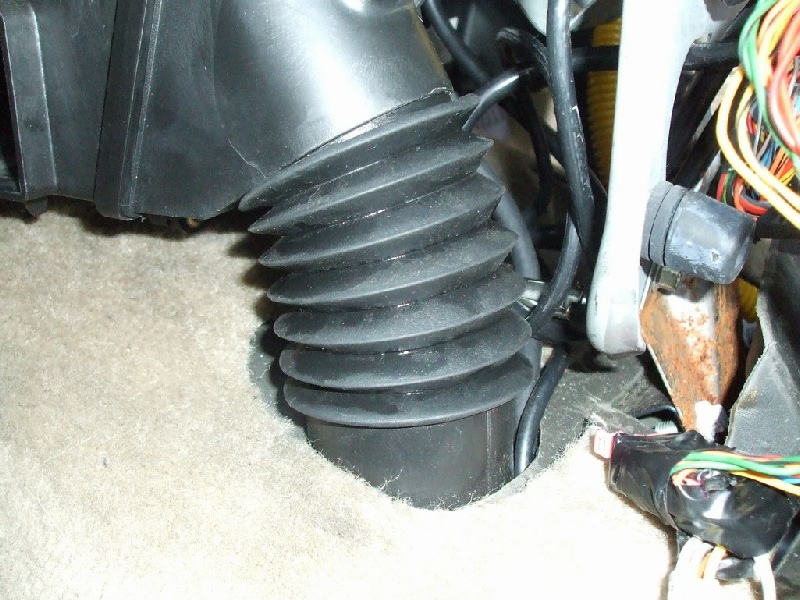
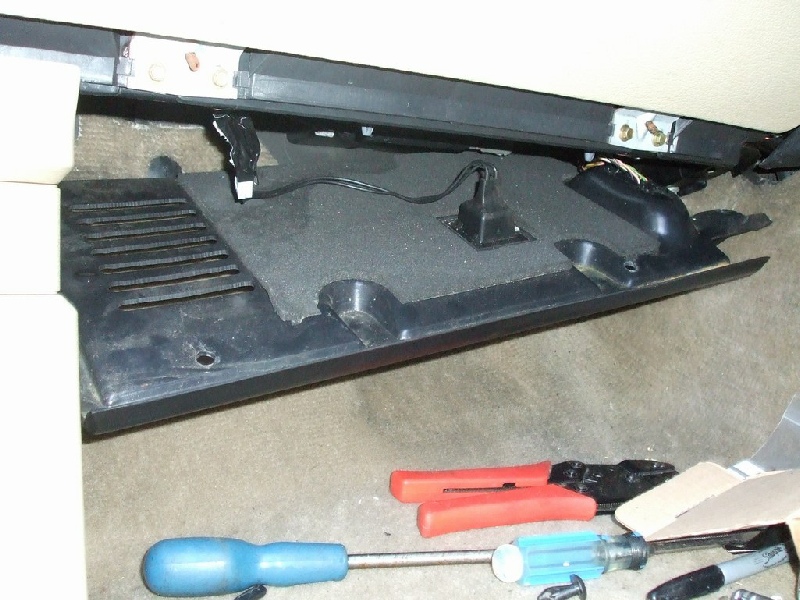
Now reattach the ducting either side of the unit and the gators -
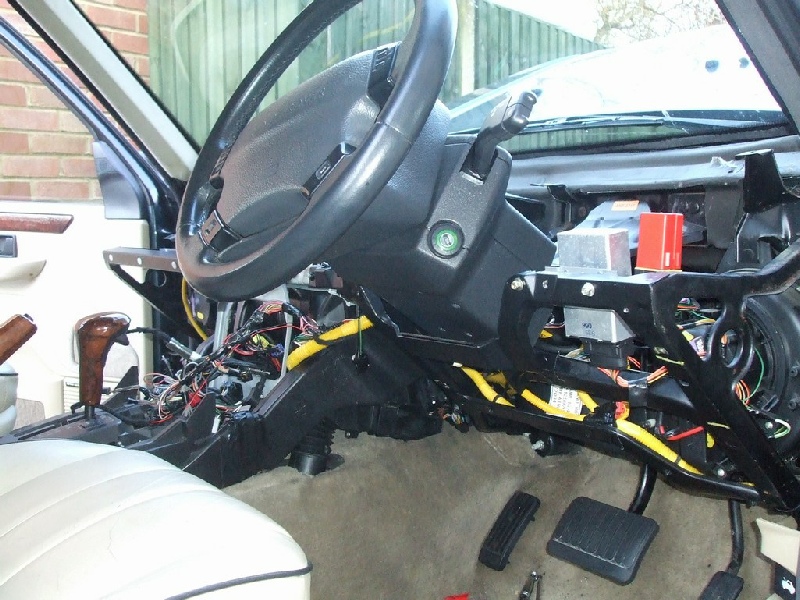
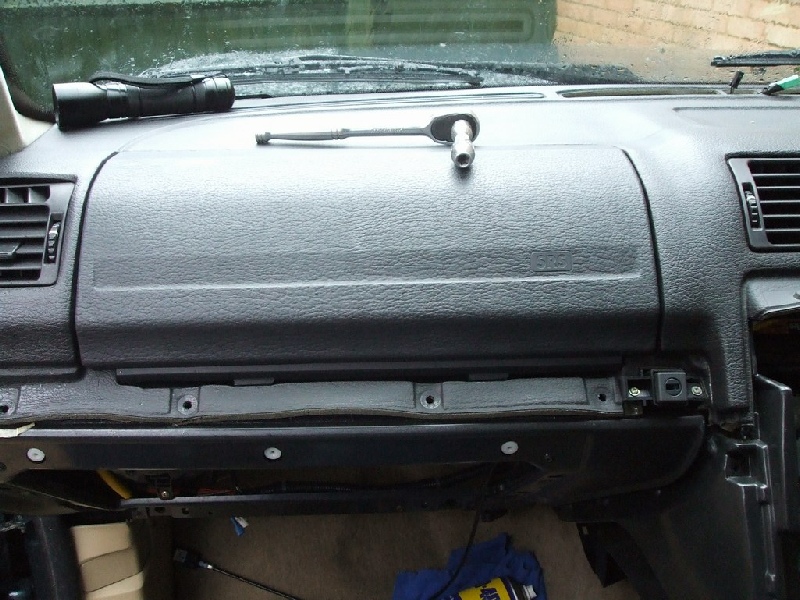
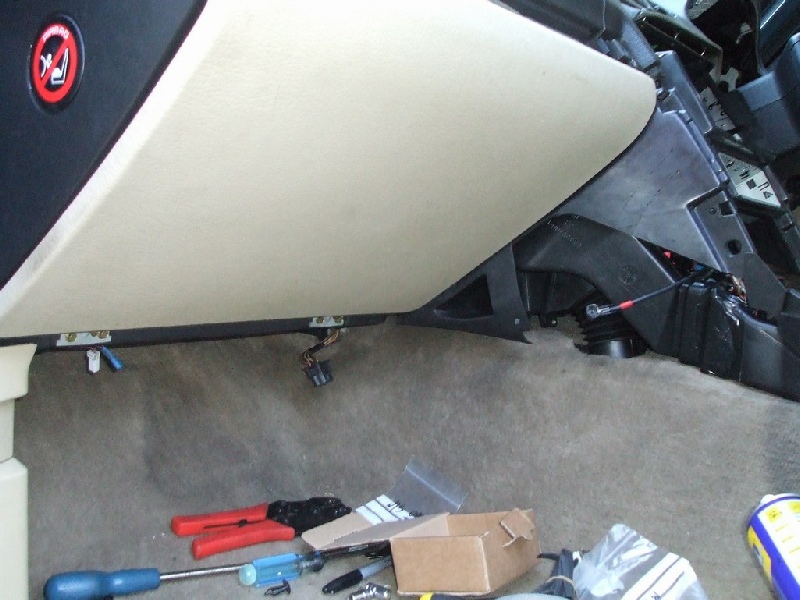
Now lift the dashboard back in -
Put the 4 M8 bolts in loosely, then put the self tappers that holds the lower part
of the dash -
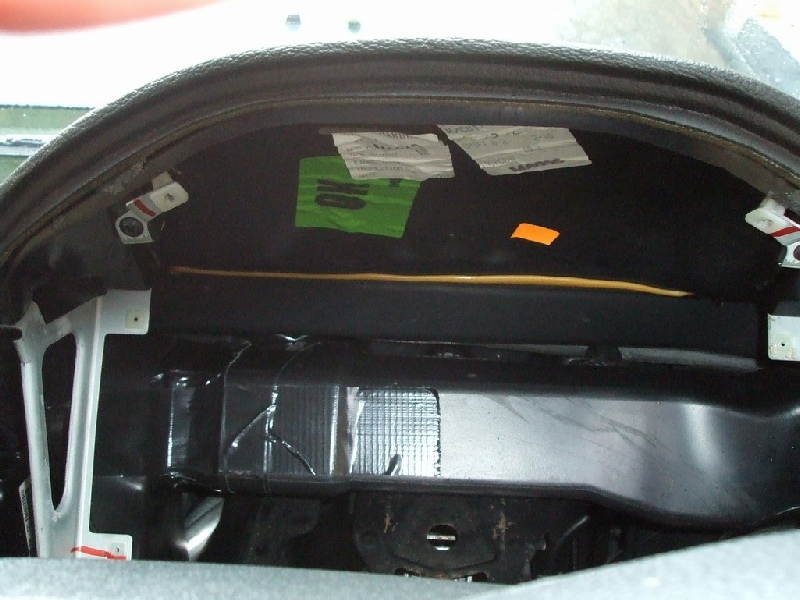
Refit the ducting behind the air bag and instruments -
Refit the airbag using the star shaped torx bolts. Don’t attach the bezel until you are completely finished and happy everything works, as its a git to remove. Reattach the nearside blower duct (if you removed it).
Reinstall the glove box. I used gaffa tape to hold the square nuts in place. MAKE SURE THE CATCH RELEASES THE GLOVEBOX, otherwise you wont be able to open it!
Finally -
8/3/2011. Dashboard fully fitted and the air-