More stiff flaps
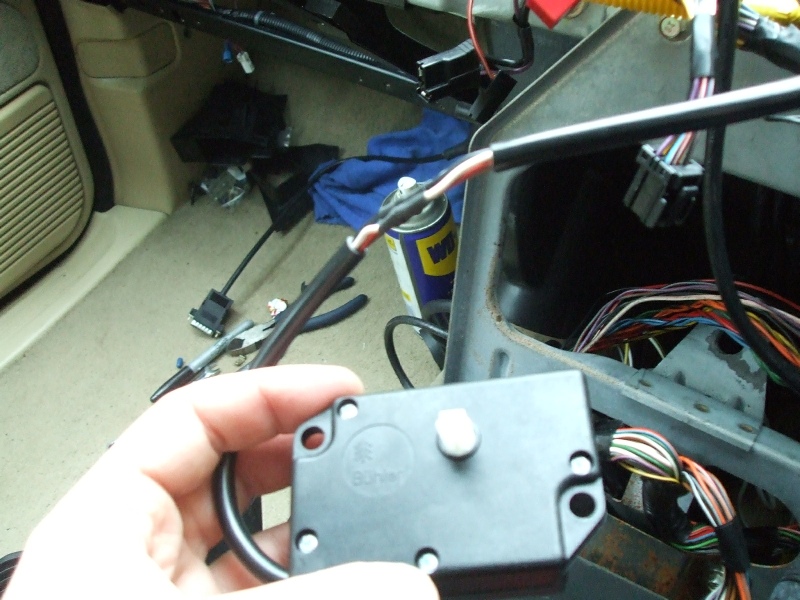
Purchased replacement blend motor and spliced it into the loom, fitted onto the heater and used the diags to execute a calibration. The motor moved and did manage to complete one cycle, but it didn’t feel very convincing and still was slow to move.
Removing the heater without removing the dashboard
So despite the previous trick of forcing the heater unit apart with self tappers,
which did help -
So I decided to have another go at digging into the blower unit. The reason I stopped
before is because I couldn’t get the bar that goes across the front of the heater
blower (Bearing in mind the official procedure is to remove the entire dash assembly)
-
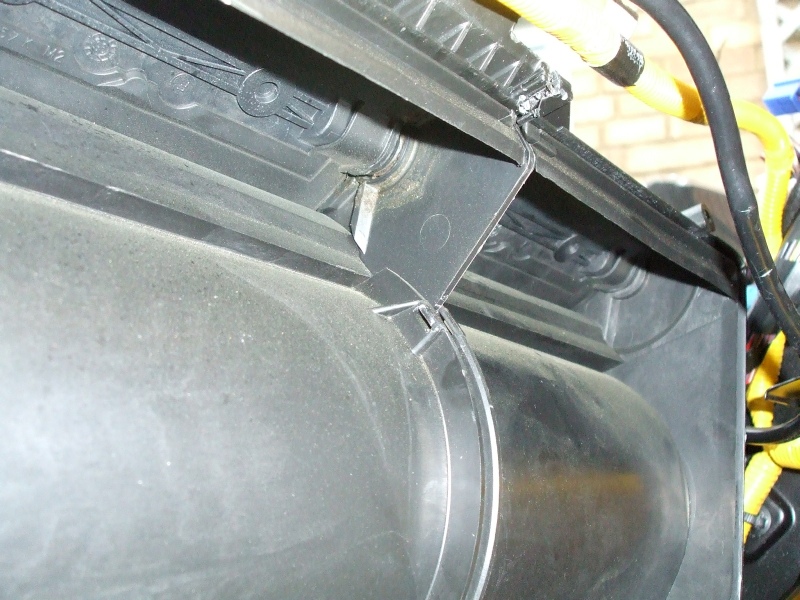
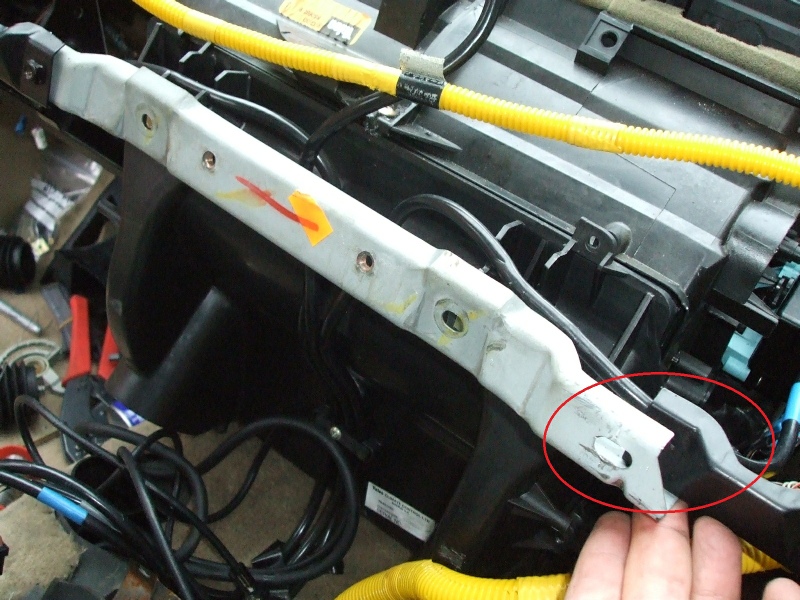
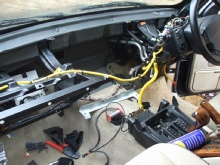
With the framework loosened, it was possible to remove the support bar and the the
front cover for the blower unit -

With the front bar removed, It looked like it was possible to get the heater out without removing the dashboard.
First, from inside the engine bay disconnect the air-
Second -
Third -
Fourth -
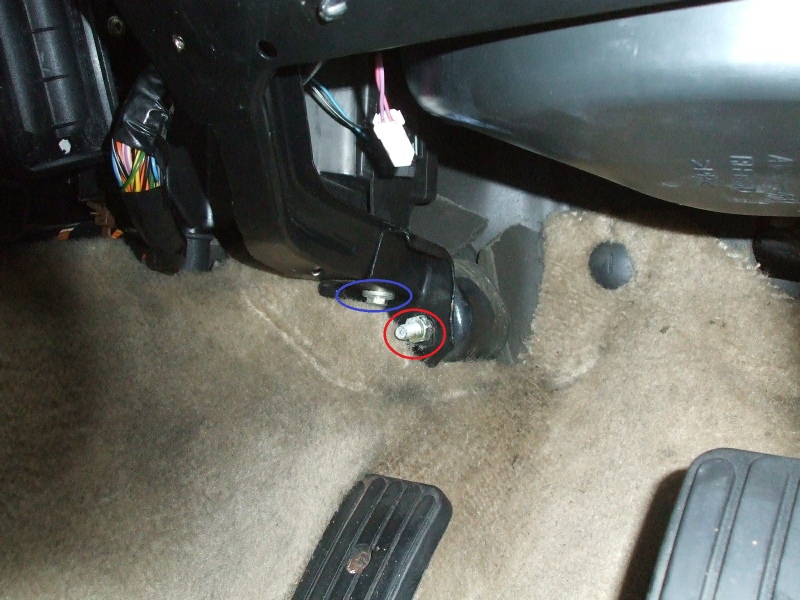
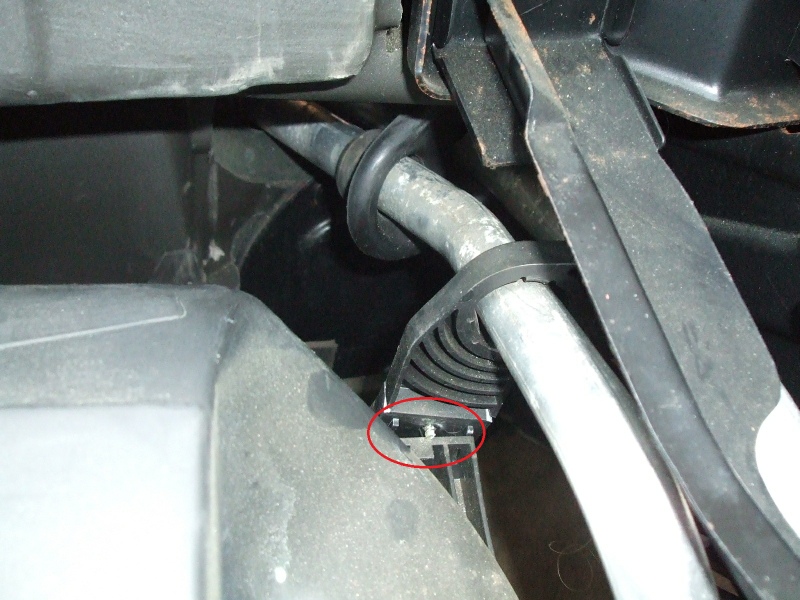
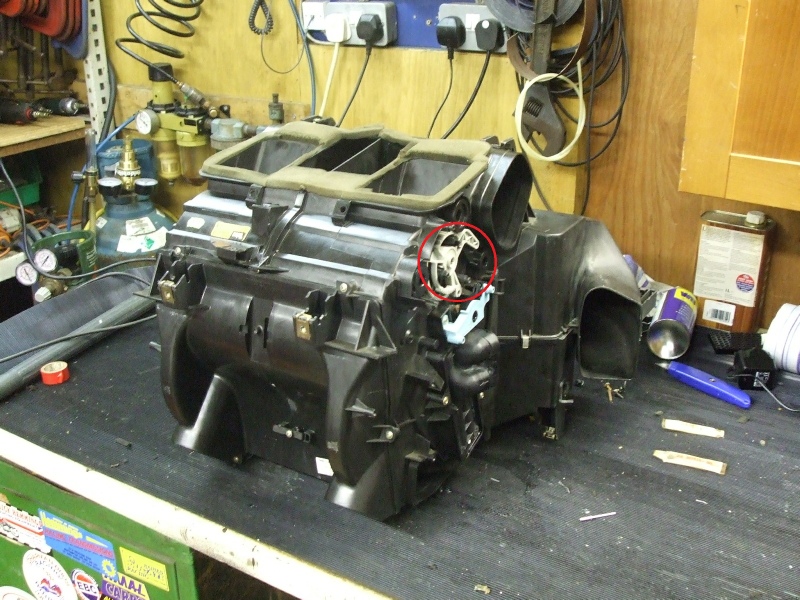
Now lift the heater unit back a bit and you will see the hot water pipes attached
to a plastic support (red circle below) -
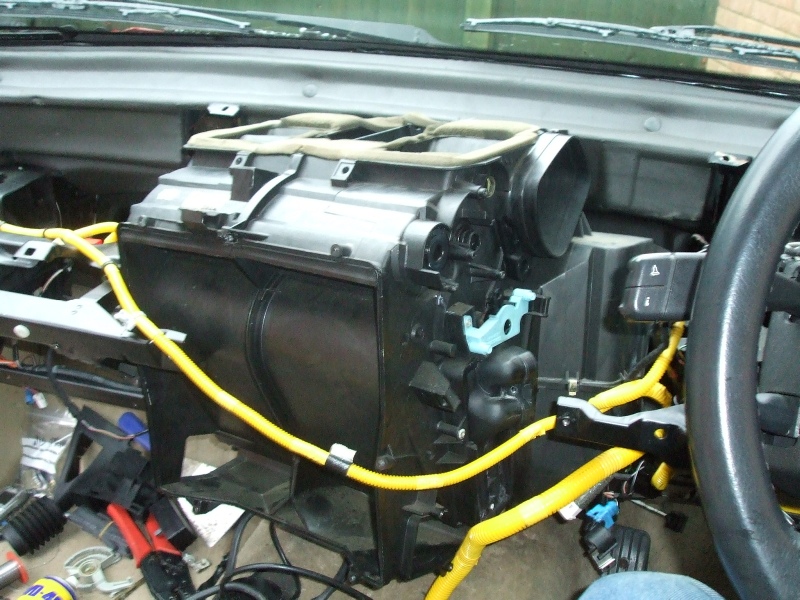
It will now be possible to lift and twist the entire unit out:

Split the A/C from Blower
With the unit on the bench, I spotted the single screw that kept the two halfs together.
Therefore It may be possible to remove just the front blower without having to disconnect
the Air Con pipes in the engine bay -
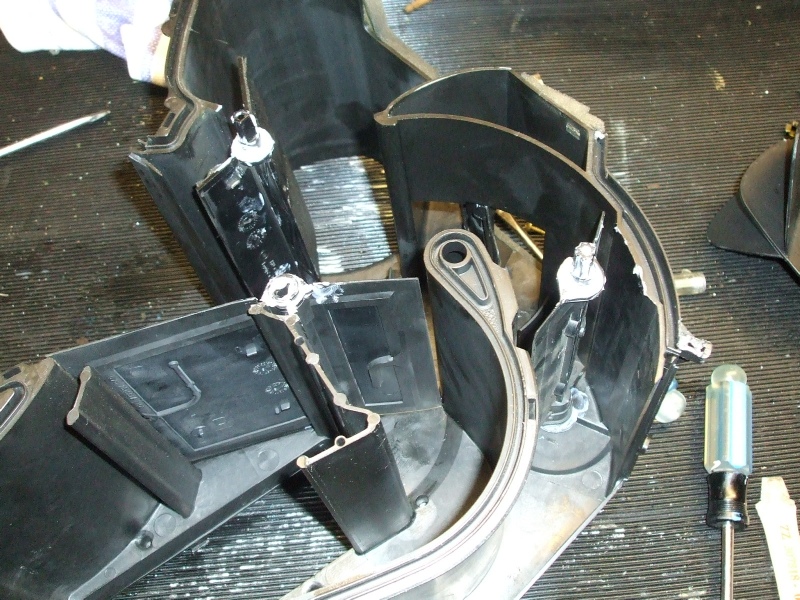
Blower strip down and overhaul
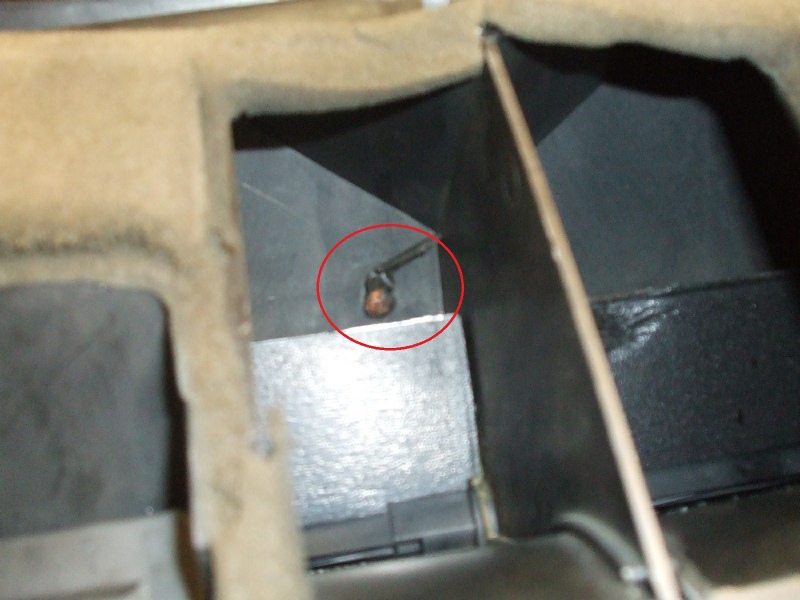
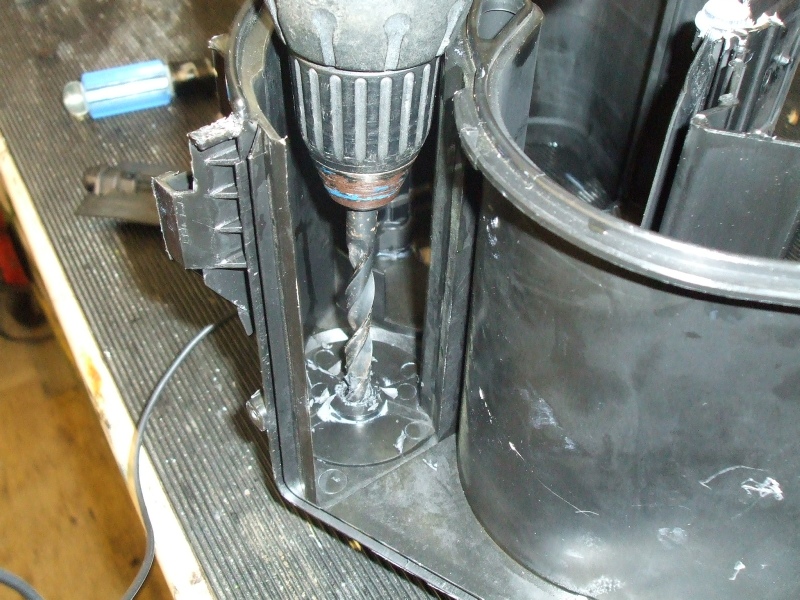
The whole unit was stripped down, every single flap removed and regreased. But despite this, when it was fitted back together the front flap was still stiff. I had to drill out the hole to give it more clearance. That got the front flaps looser, but the white plastic gear on the side (Circled red) was also stiff, so this was sanded internally until it ran smooth.
By time you finish, you should be able to move the flap(circled red) with your little finger without any resistance.

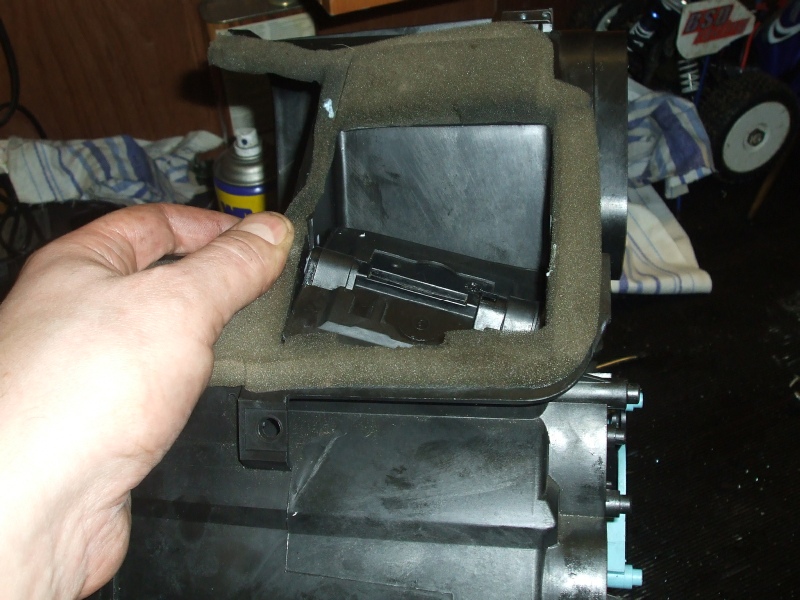
This Video clip shows how easily the flaps should move -
Update:
I found the white plastic gear (circled red) to be very stiff on the spigot it runs on. I used sandpaper inside it to enlarge it.
Someone else has told me that they had the same problem. So check that the white gear turns easily on the spigot it attaches to.