My 3rd P38 Range Rover
Yes -
Bought from a dealer -
- Air compressor seals gone (Fixed already, £25)
- Shaky under braking
- Sunroof not working
- A/C not working
- And of course battery drain -
and again I disconnected the receiver to work around.
Dealer had the car nice and warmed up, which masked the knackered compressor and
flat battery -
I’ve already ported my FaultMate Diagnostics over to this car -
May 2012
Well with some reasonable weather I thought I would make a start on some of the jobs.
First up was an investigation into the cause of a rumbling noise on full lock -
Didn’t take many photos -
- Remove the wheel
- Straighten out the dimple in the big nut in the middle of the hub
- Replace the wheel and lower onto the ground (to stop wheel turning)
- I had to use a very long breaker bar to undo the nut
- Jack back up, remove brake caliper (two bolts at the back)
- Remove brake disk (small posi drive screw)
- Slide ABS sensor out about 1 inch (no need to completely remove)
- Undo the 4 retaining bolts for the hub
- Lever, pry and hammer the hub out.
I ordered replacement hubs from Island 4x4 which were a shocking £160 + vat. You
can get replacement bearings for about £80 -
Whilst the car was up on axle stands, I decided to get the wheels professional refurbished
by pristine wheel in Woburn sands -
Despite the front disks looking in reasonable condition -
So with new hubs, new disks, new pads and refurbished wheels I’ve been for a test drive and the whole experience is much better. No more wheel shake when braking, drives in a straight line and is quiet and smooth.
P39 Cam Position Sensor
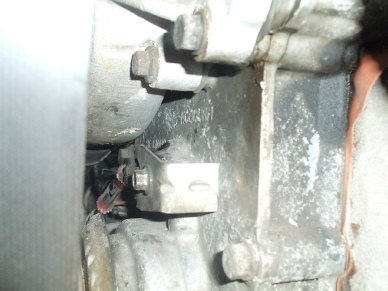
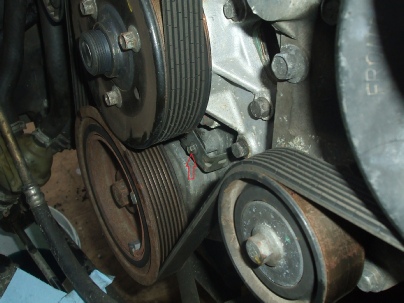
The diags are reporting that the cam position sensor is faulty -
The cheapest replacement part ERR6169 is £116 + vat (list price is in the hundreds
of pounds. So I thought I would remove the sensor and check the wiring. A bit of
googling suggested this was difficult to remove -

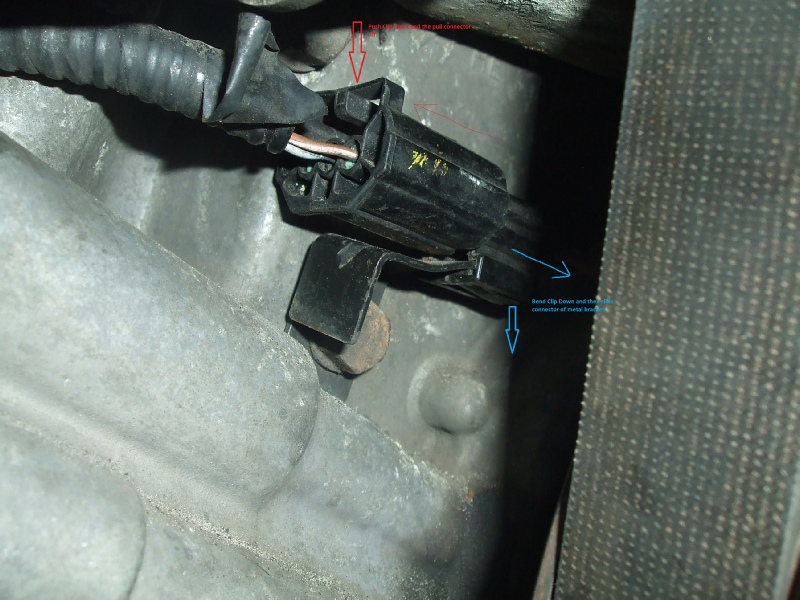
You need to unclip the cable from the connector (red arrows) and then unclip the connector from the bracket (blue arrows)
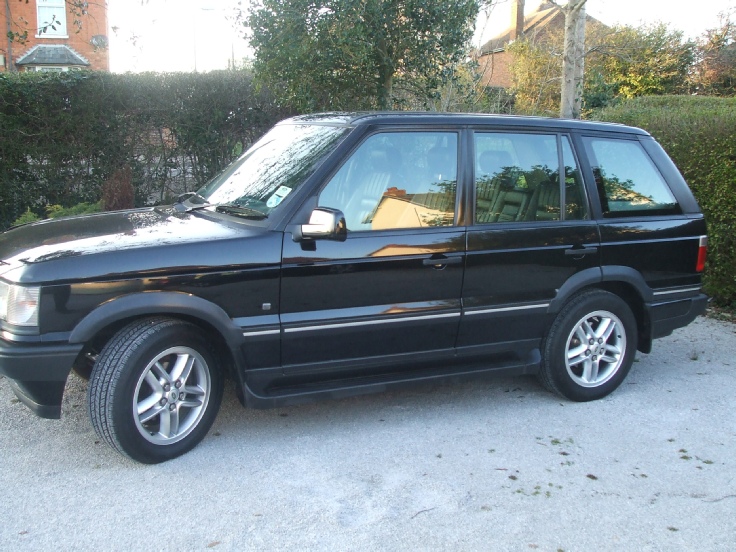
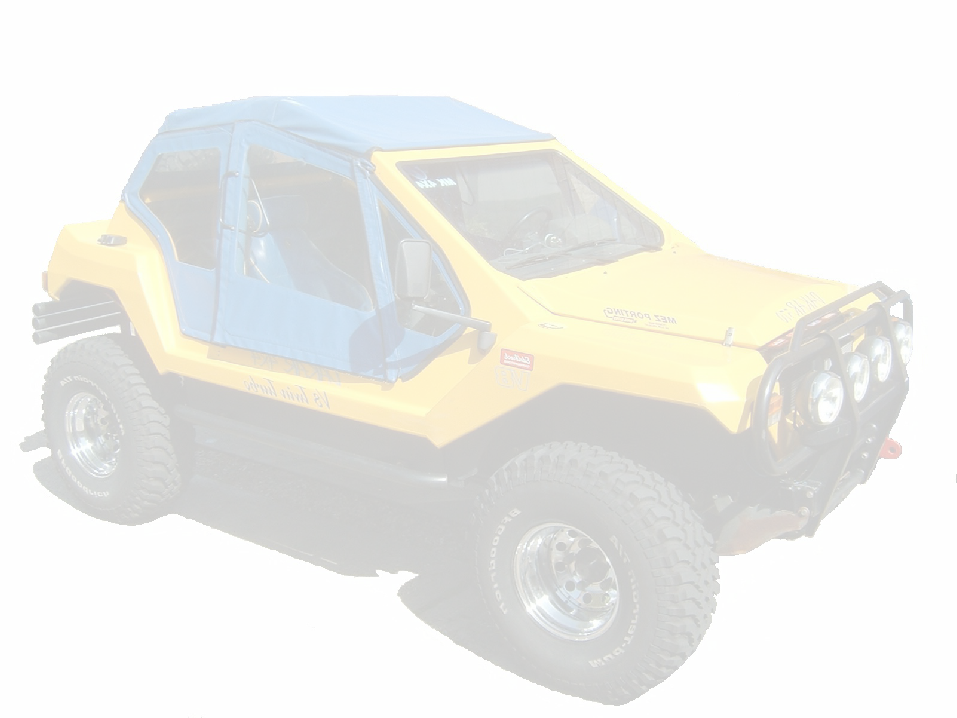
Photo of the car after having the wheels refurbished at Pristine Wheels.