
Experimenting with a larger pre-
23/1/2006
Yet more testing, I think I'm becoming obsessed with this!. I thought I would try
a bigger pre-
Here's the results; A slight improvement -
At the end of the day, I think i can improve it a little -

11/2/2006
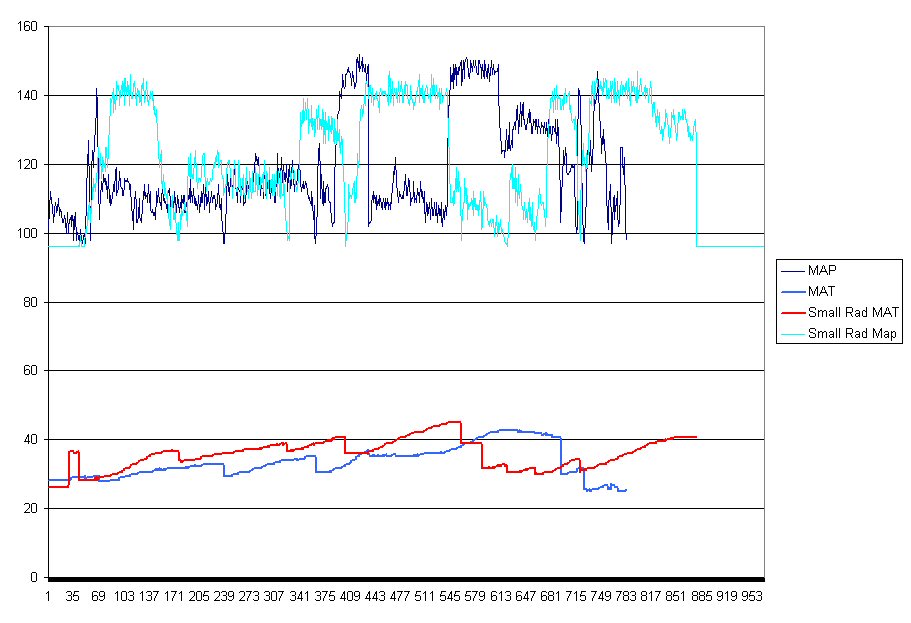
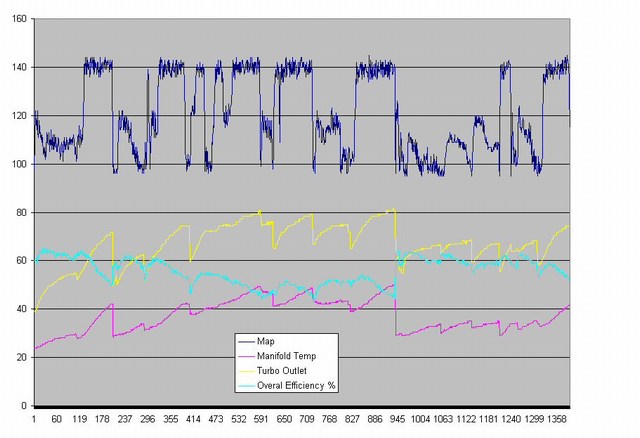
This graphs shows the water coming out of the chargecooler (Yellow) and out of the
radiator (Blue). You can see under boost the water rises, then they converge again
off-

26/03/2006
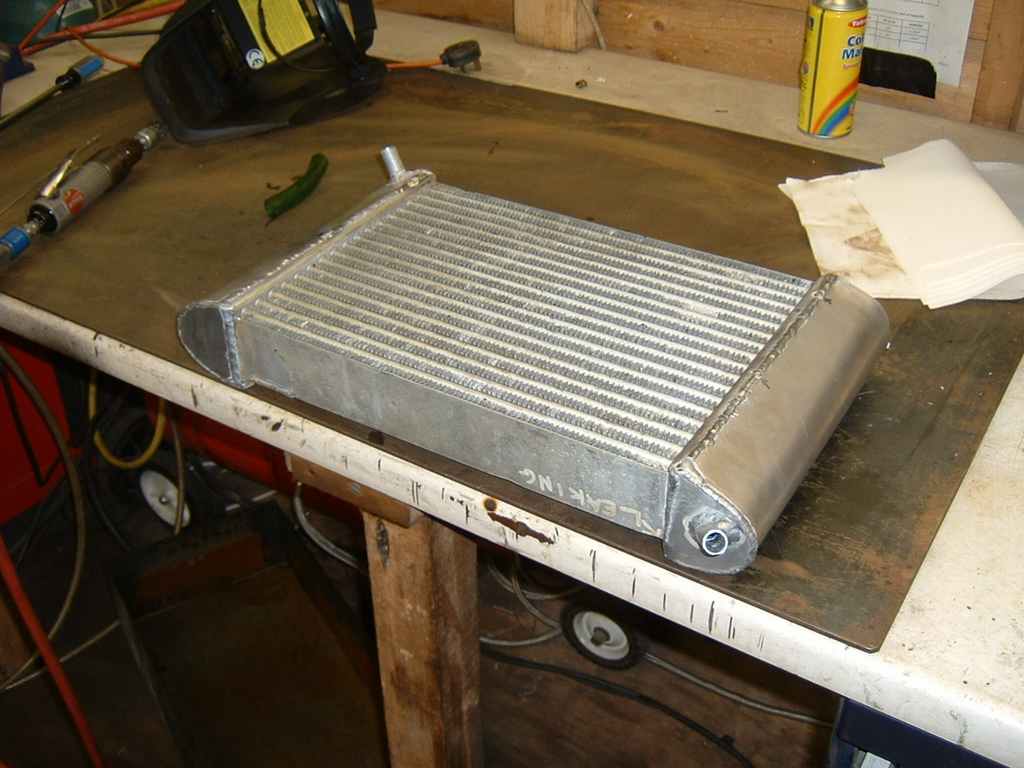
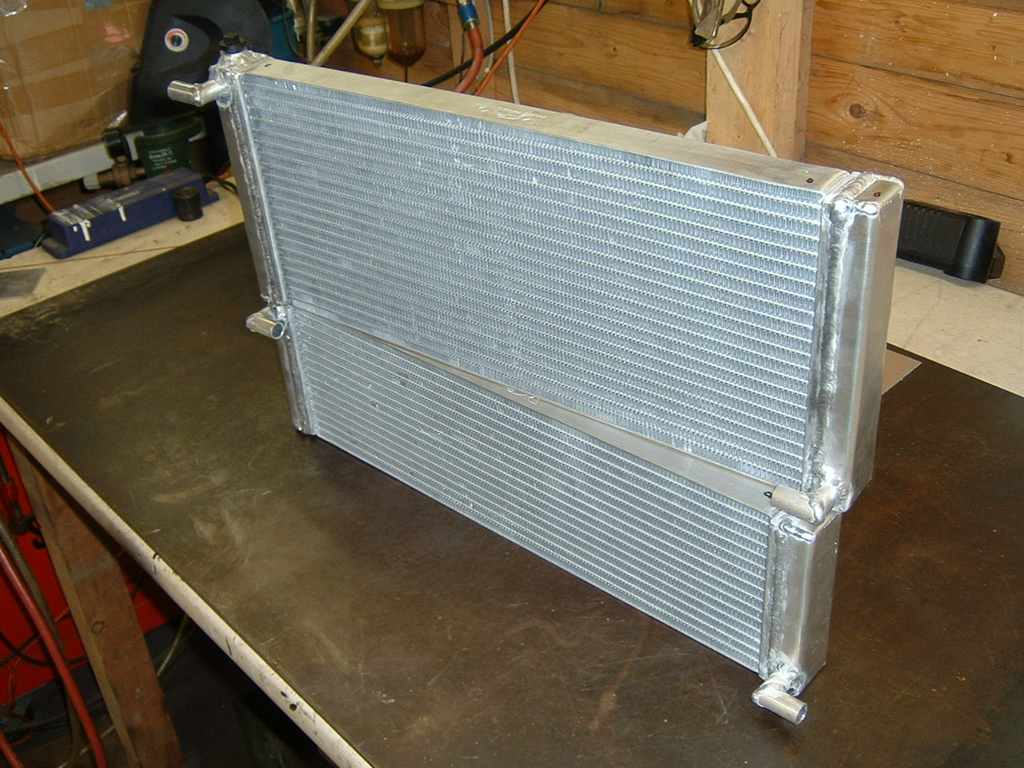
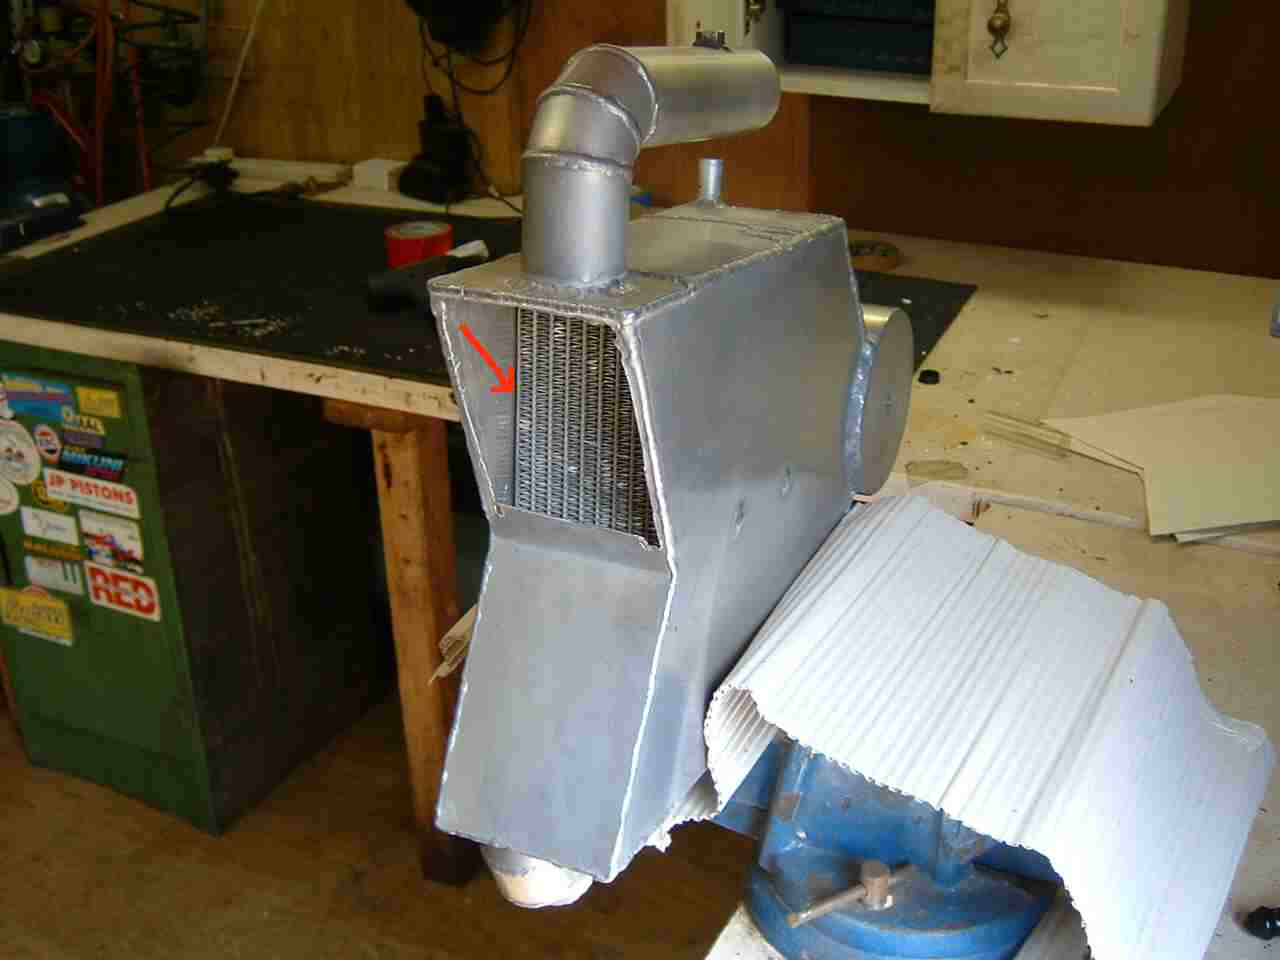
Custom chargecooler radiators.
Having tried a larger pre-
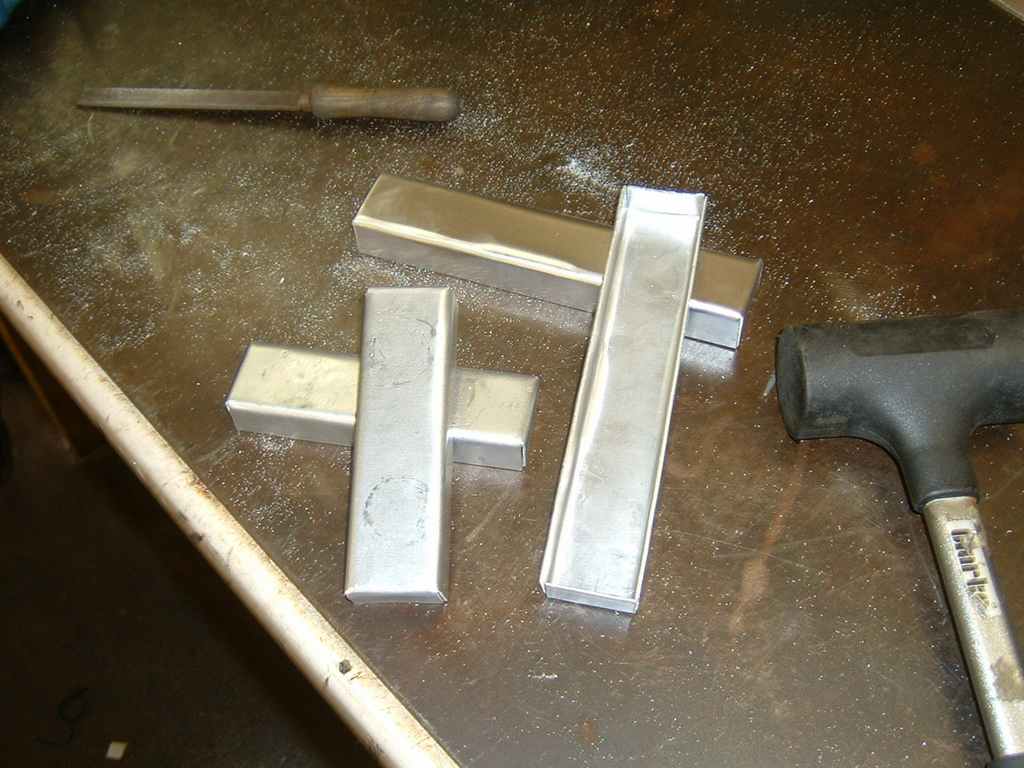
Work starts by creating a steel buck to form the end tanks from. Then it's just a case of gently hitting it with a rubber mallet.
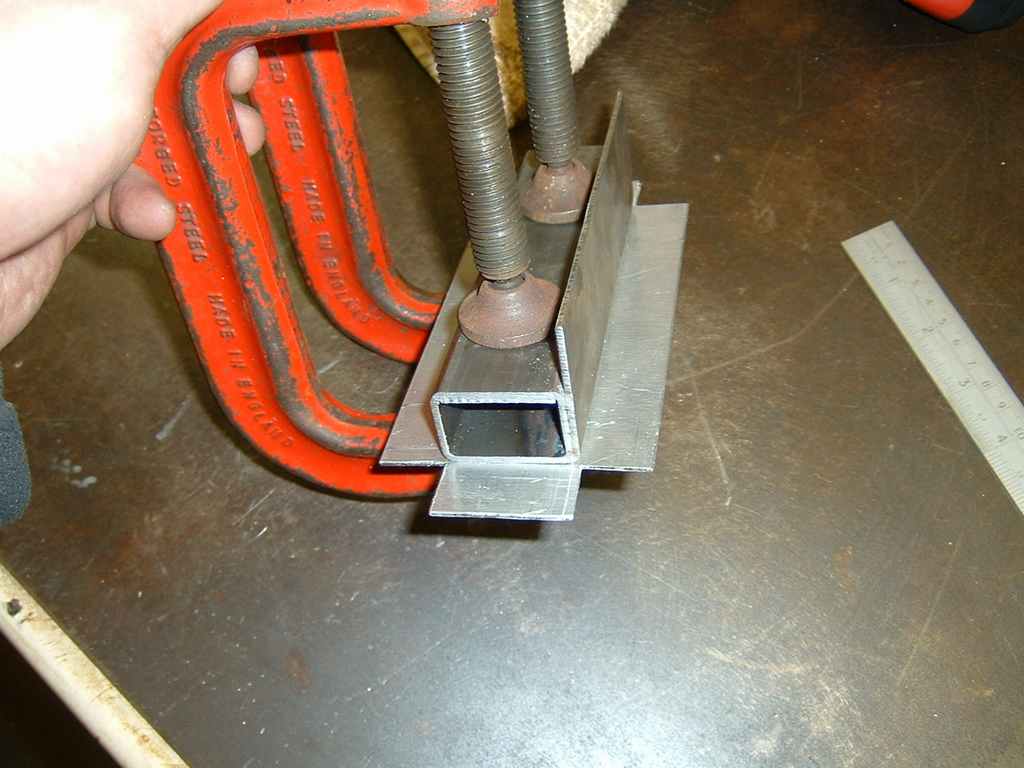
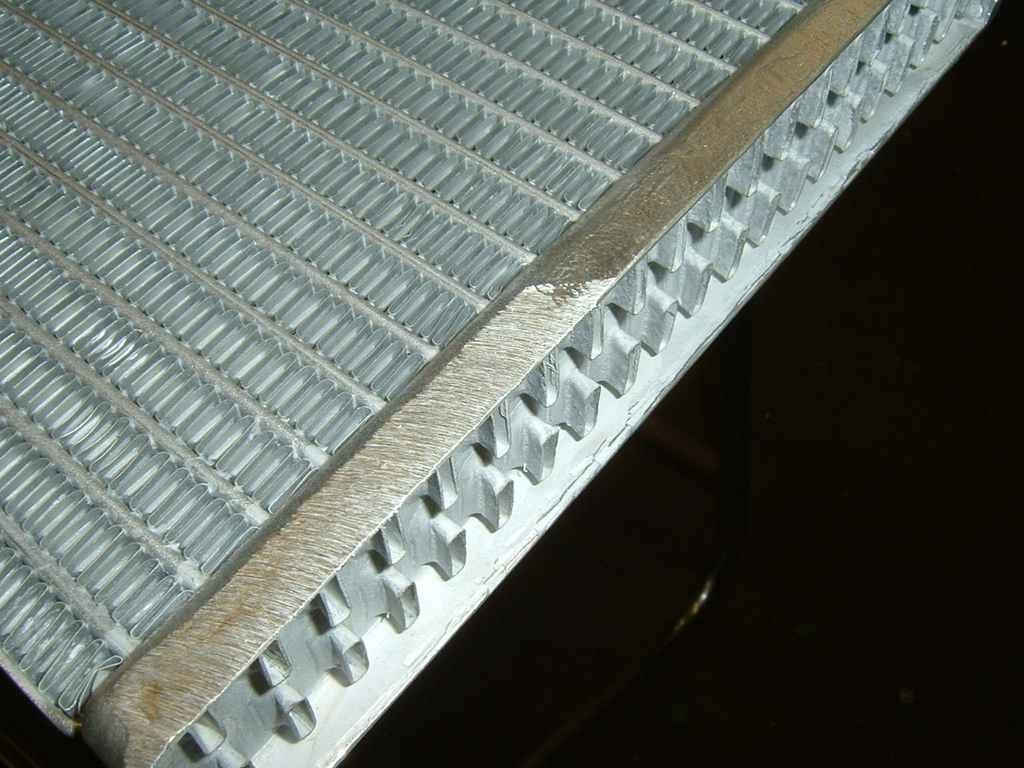
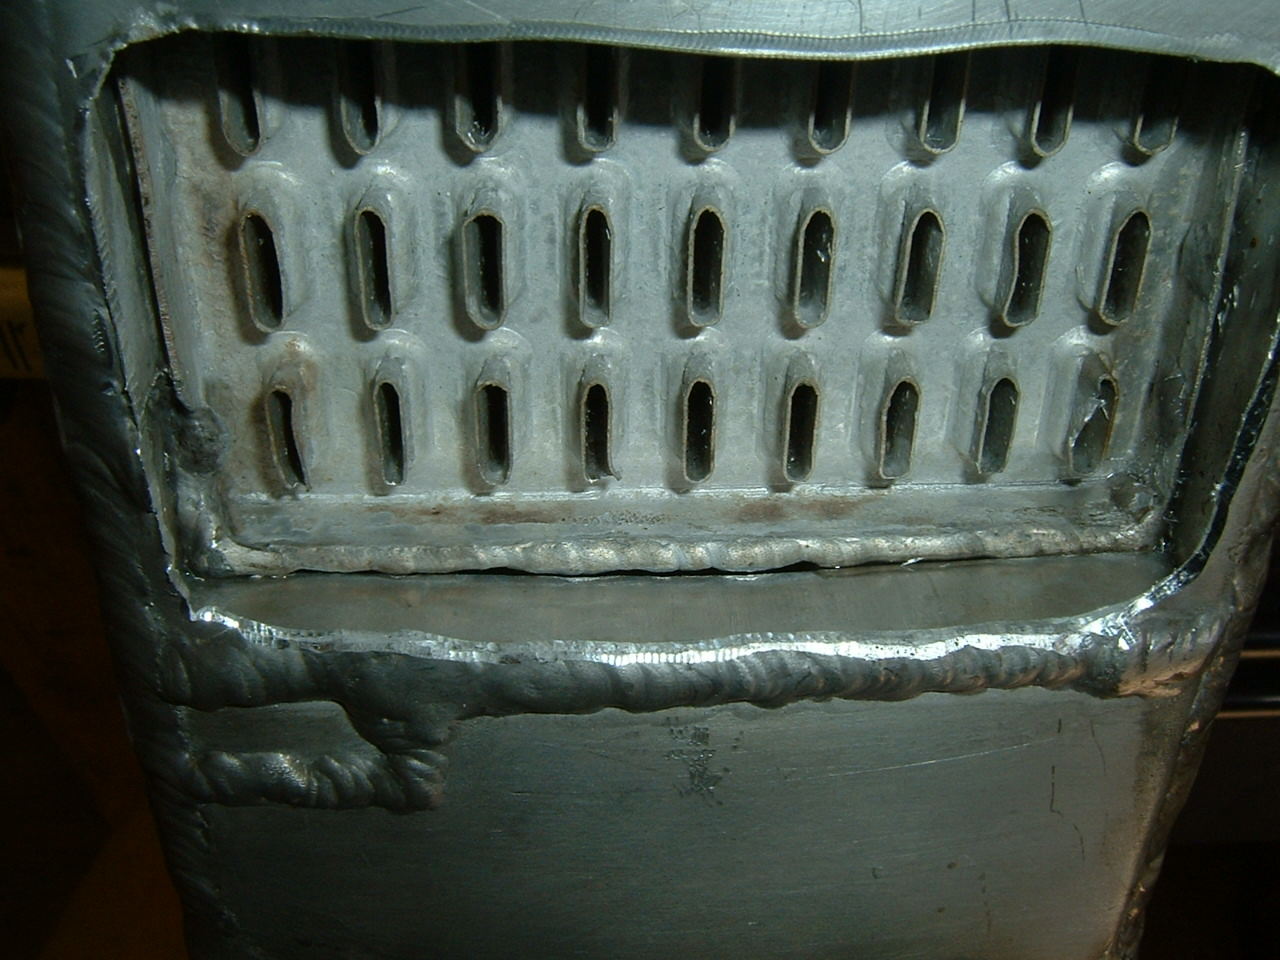
When clean just isn't good enough. As I found out from bitter experience last time,
the rads must be very clean. Even though they are new and shiny, I still ground them
again with a brand new sanding disk. The welds are better this time, because I butt-
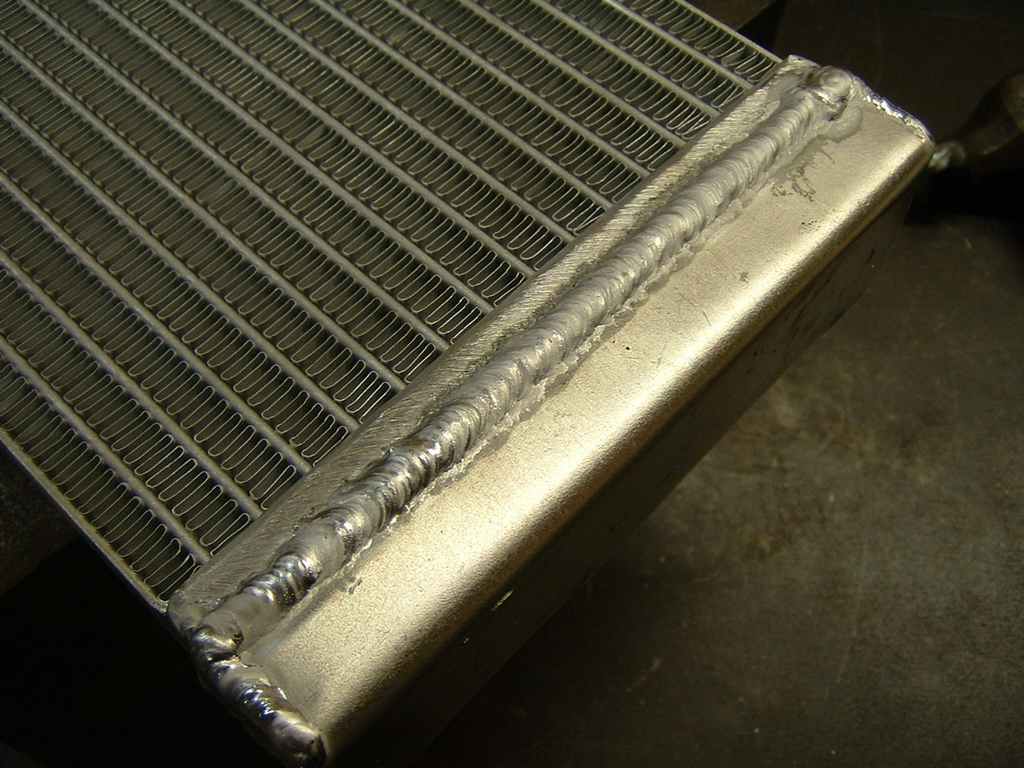
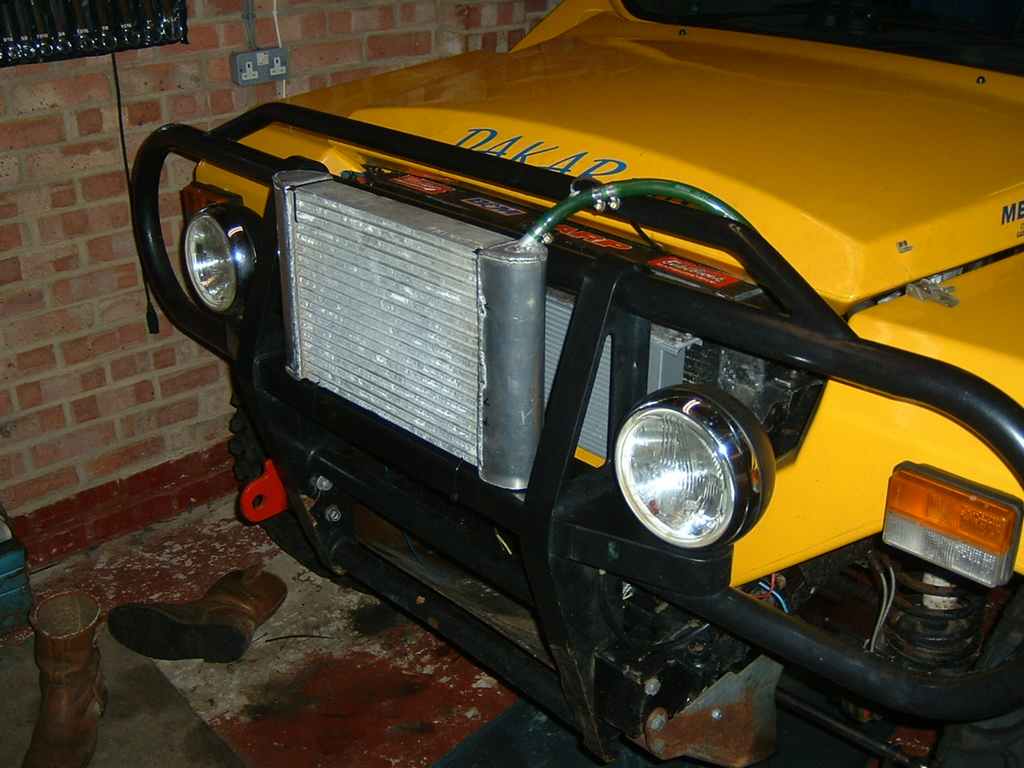
The result of a couple of hours of welding. I'm quite pleased with the results and I saved £150 fabricating the tanks myself.
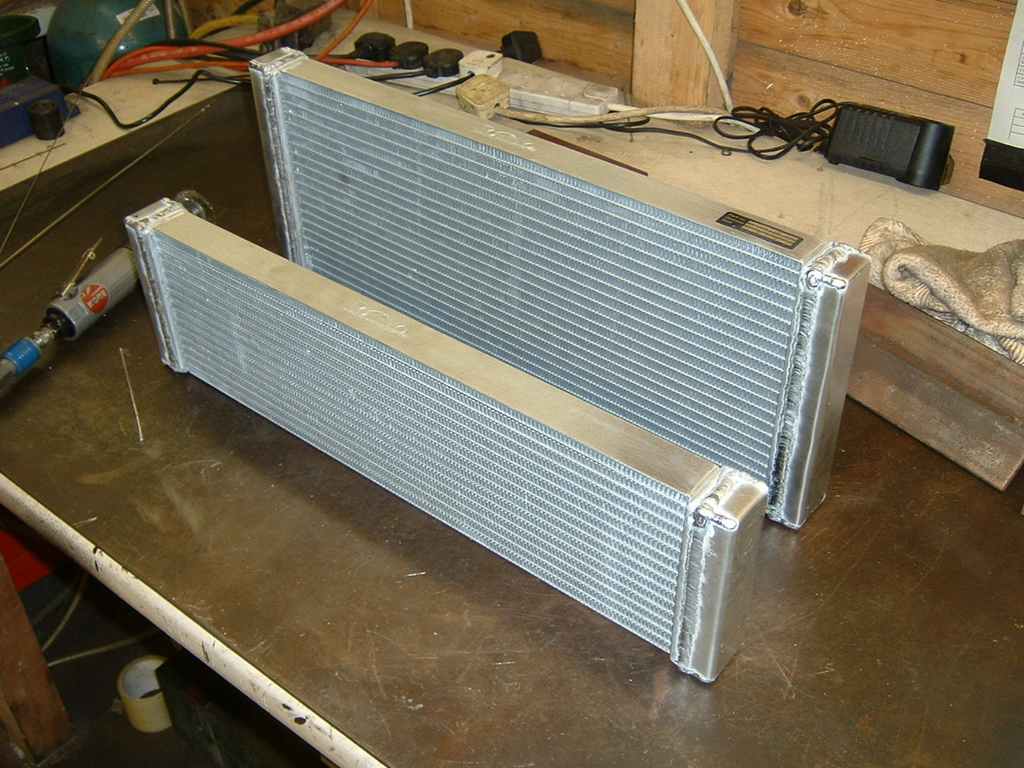
Not quite Bugatti Veyron territory, but I think 5 radiators are enough...
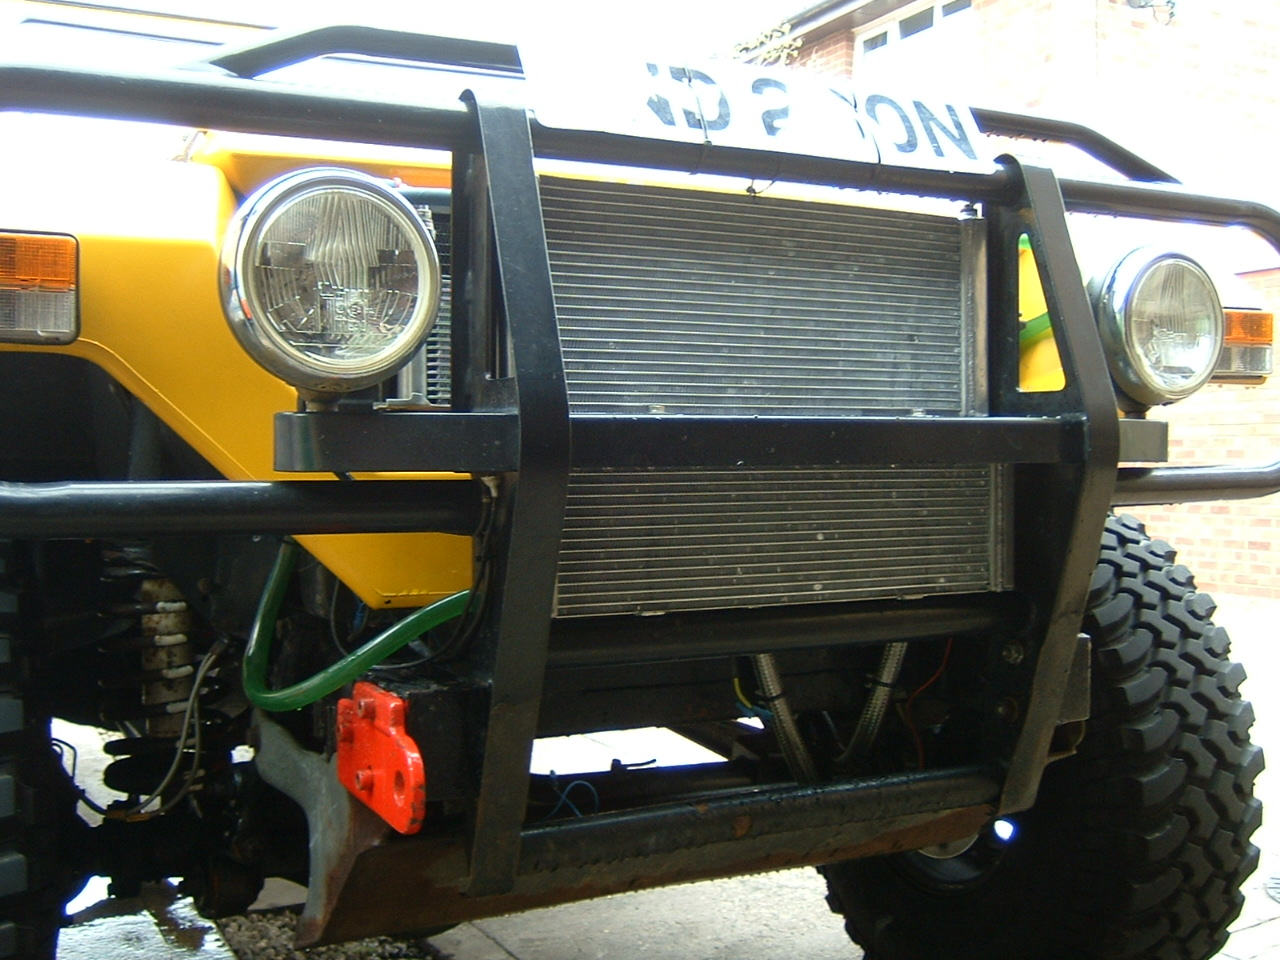
04/04/2006
Despite some good fun baiting scooby's out on the road, my spanky new pre-
Graph shows boosted sections only, Ambient temp was about 13'c
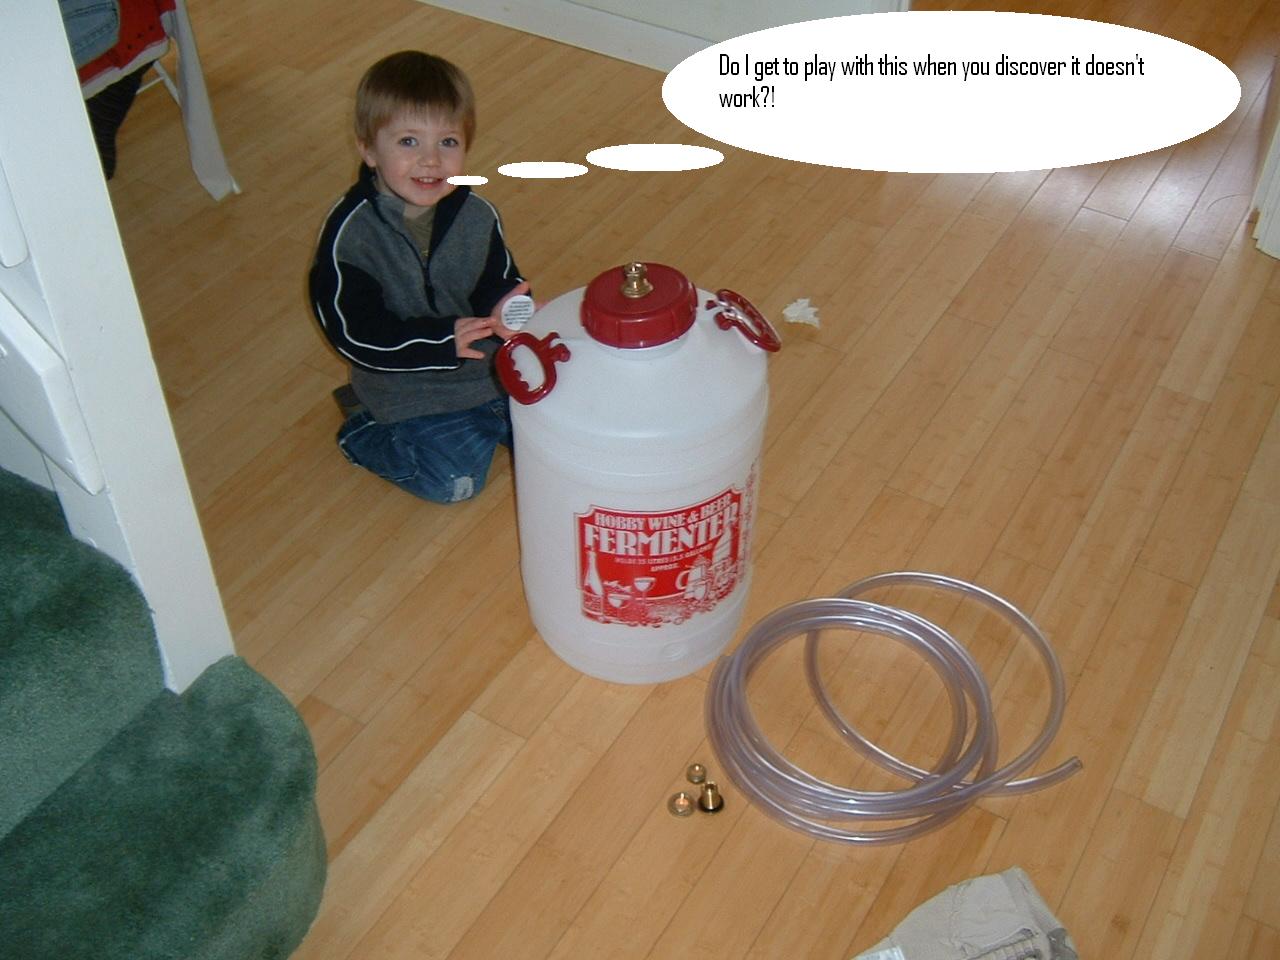
The big water tank experiment
Idea was to have a massive tank of water, so see if it slows down the rise in temperature
-
Next steps
I want to modify the internals of the chargecooler to make sure the water flows round
all the cores -
If you are thinking of making a core, I would recommend making all the water compartments
separate and then using external plumbing to connect them -
6/8/2006 Modified chargecooler internals
Finally got the courage up to cut apart the chargecooler and modify the coolant passages.
I used a nibbler to cut holes in the water tanks to expose the compartment dividers.
I had to remove both charge hoses (on each side) and I cut the front of the charge
compartment off to access the cores -
(Click on photo to see harrowed section) -
I cut the charge pipes off to allow me to cut holes in the water jacket to get to the dividers.
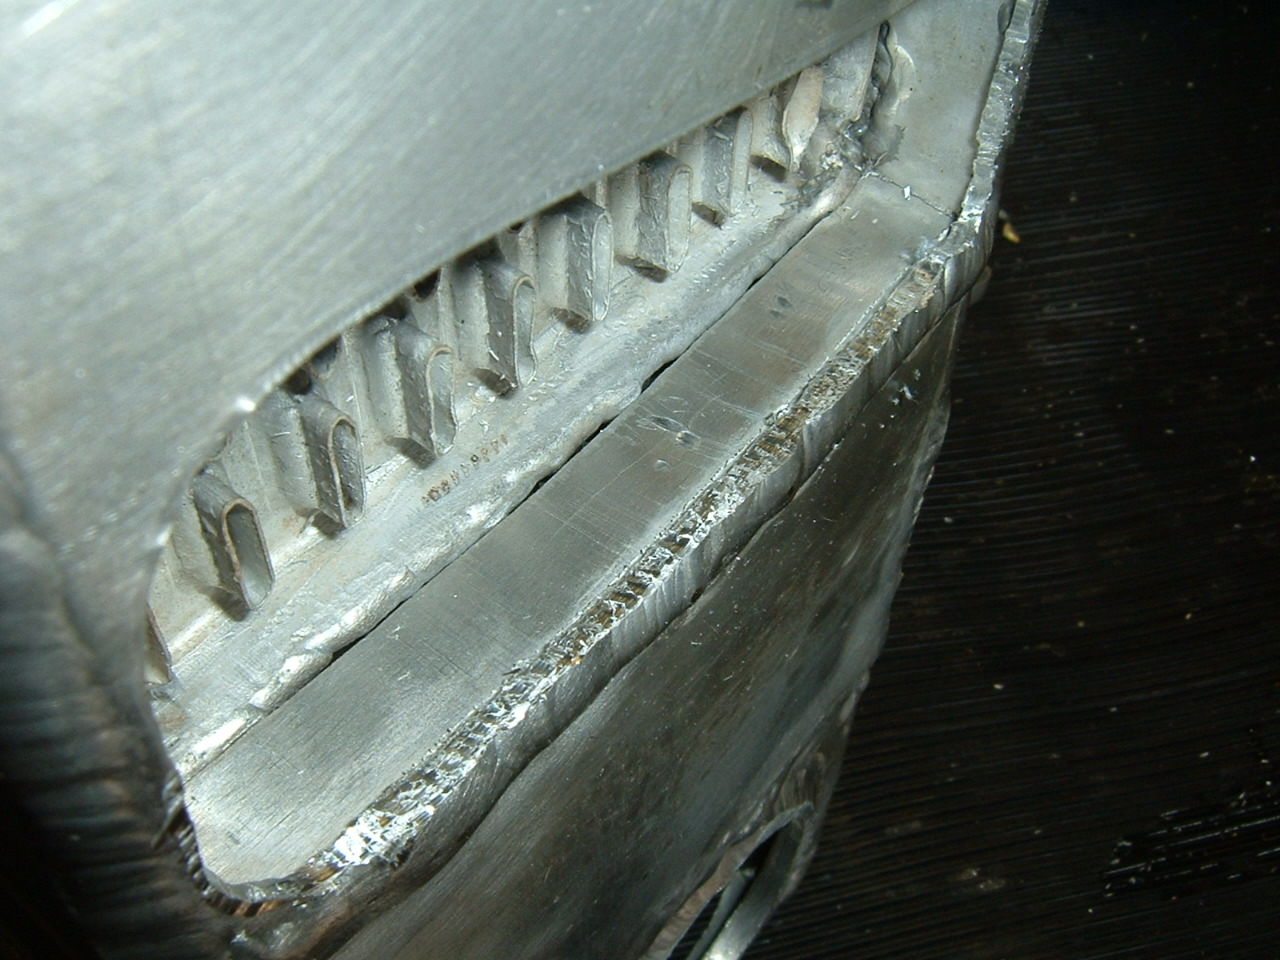
The gaps between the compartments wasn't as big as I had imagined -
Whilst it was off the car and now that I have a mill & lathe I could sort out a few other issues, I made a proper ally bung for the temperature sensor and also I could machine the flange flat as it warped considerably when it was welded (this was 6mm thick ally!!).

Poor old cooler looks like a patchwork quilt now, although considering I removed both charge pipes, the front and cut holes in both sides I'm fairly pleased with the fact that it all went back together.
And here's the results: (Ambient temp 26'c)
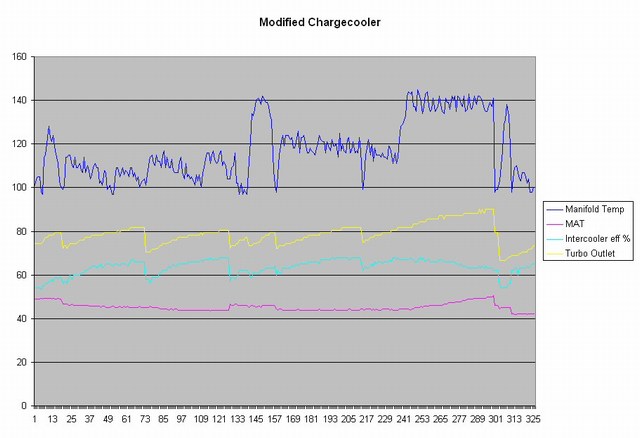
Off-